

How We Built a Branded Merch Package: Heat-Printing Techniques
BY TOPSHELF PRINTERS – Connect with Topshelf
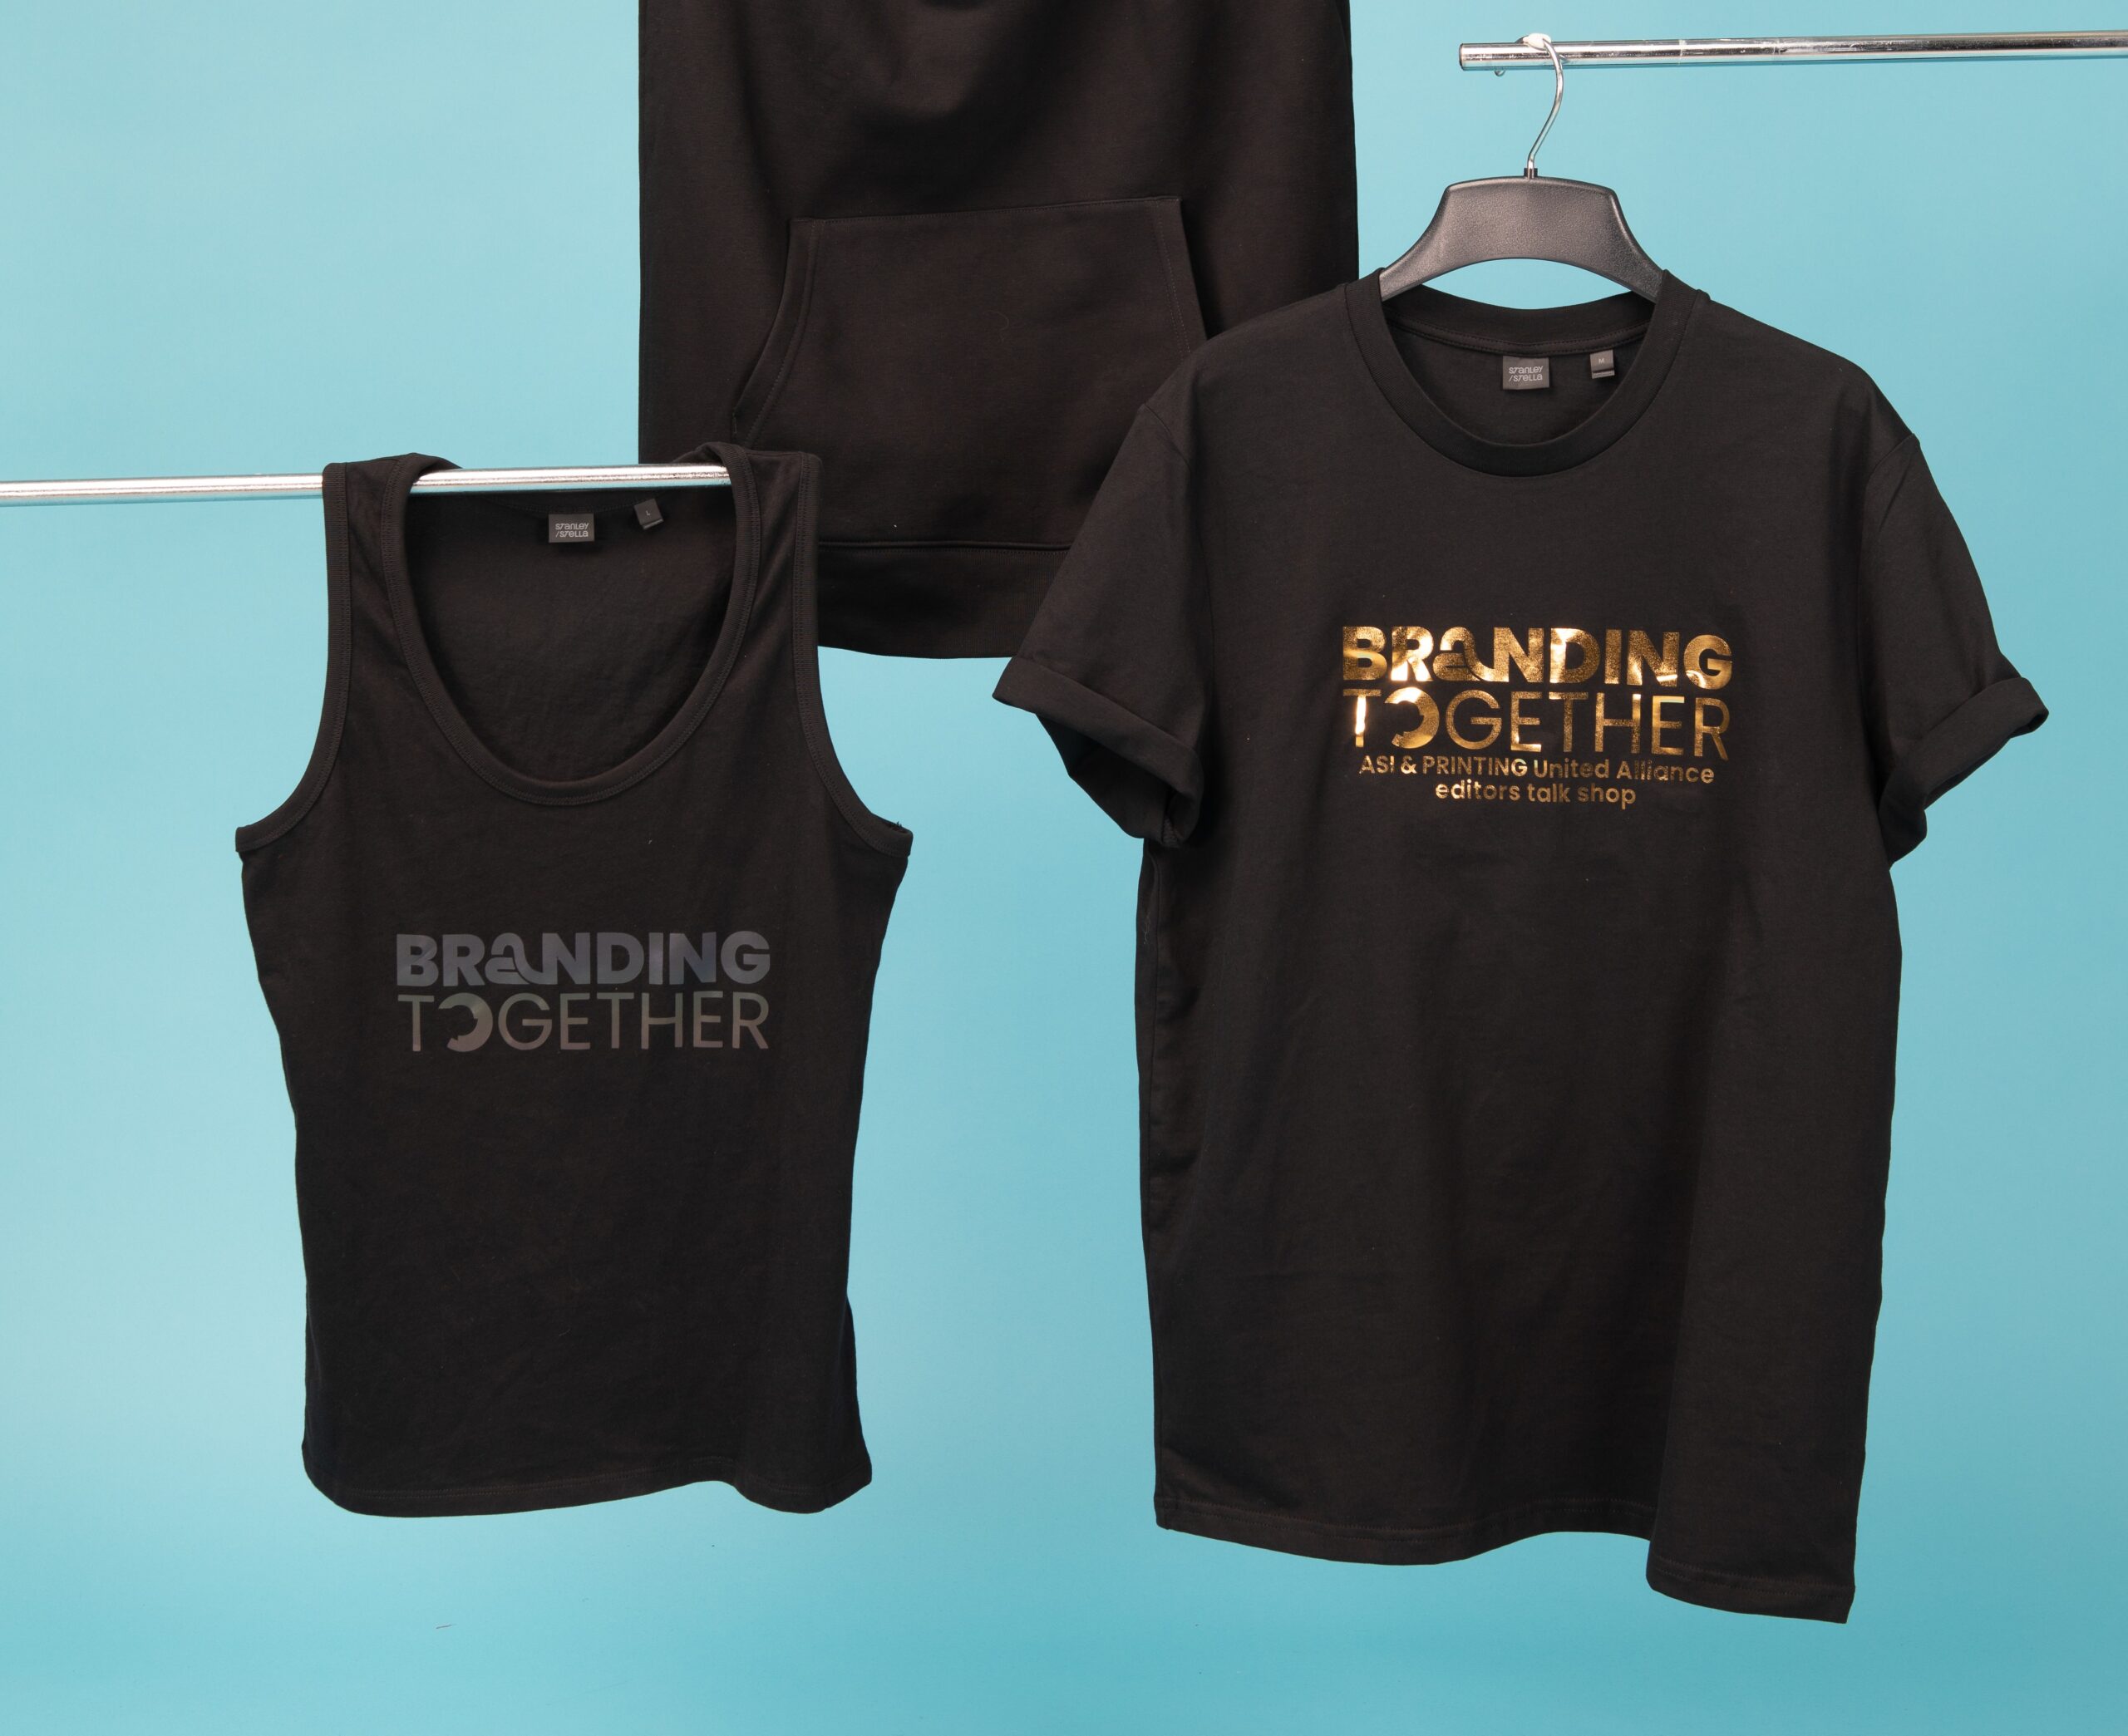
Using heat-applied graphics is an easy way to create branded apparel. Options such as heat transfer vinyl (HTV), screen-printed transfers, and more provide the ability to offer your clients a variety of customized looks and options.
Follow along with the tutorial to see how easy it is to bring this process in-house. We created this as part of the Branding Together collaboration project — listen to the full story here.
Step 1: Preparation
Workspace and Tools
Ensure your press platen is clean and free of debris or adhesive buildup. Have the following tools ready:
- Weeding pick
- Teflon or kraft cover sheet
- Lint roller
- Alignment guide or laser (optional)
Heat Press Setup
Power on your heat press – For this tutorial, we used the Hotronix Fusion IQ. Select the correct temperature, pressure, and time for the specific CAD-CUT material — we referred to the STAHLS’ chart; standard settings for CAD-CUT soft metallic heat transfer vinyl are below:
- Temperature: 285 F
- Time: 8-10 seconds
- Pressure: Medium (4-6 on Fusion IQ scale)
- Peel: Cold
Verify that the upper platen is level and the pressure is even.
Garment Prep
Lay the garment flat on the platen. Use a lint roller to remove debris, lint, or loose fibers. Pre-press for 3-5 seconds to remove moisture and wrinkles.
Step 2: Cutting and Weeding
Cutting
Load CAD-CUT material shiny side down (carrier side down) into your vinyl cutter. Use recommended blade depth and force (typically 45-degree blade, 80-120 g force depending on cutter). Perform a test cut before production to confirm clean cuts without scoring the carrier.
Weeding
Weed out excess vinyl around and inside the design carefully using a pick or tweezers. Keep designs organized and ready for pressing in a clean, dust-free area.
Step 3: Application
Positioning
Place the garment onto the lower platen, ensuring any seams and collars hang off to create a flat, even surface. Align the transfer in the correct placement area (e.g., 3″ down from the collar for full front). Use a heat-resistant tape if needed to keep design in place.
Pressing
Cover with a Teflon or kraft sheet (optional for extra protection). Close the press and apply for the preset time. Allow the press to open automatically at completion.
Peel
Peel the carrier sheet per the specific CAD-CUT instructions:
- Premium Plus/Fashion-Film: Warm peel
- Thermo-Film/Soft-Foam: Cold peel
- Hi-Tack variants: Hot peel
Peel gently but consistently, watching for any vinyl lift.
Step 4: Quality Control
Credit: ASI/Topshelf Printers
Inspection
Check for:
- Proper adhesion (edges fully bonded)
- No wrinkles or press marks
- Centered/aligned placement
Stretch Test
Lightly stretch the fabric around the design to confirm vinyl movement with the garment (no cracking or lifting).
Repress if Needed
If edges begin to lift or feel under-applied, cover and repress for 2-3 seconds with firm pressure.


