Embroidered-Edge Emblems: Big Looks for Short Runs
A How-To Guide on the Basics of Patch-Making
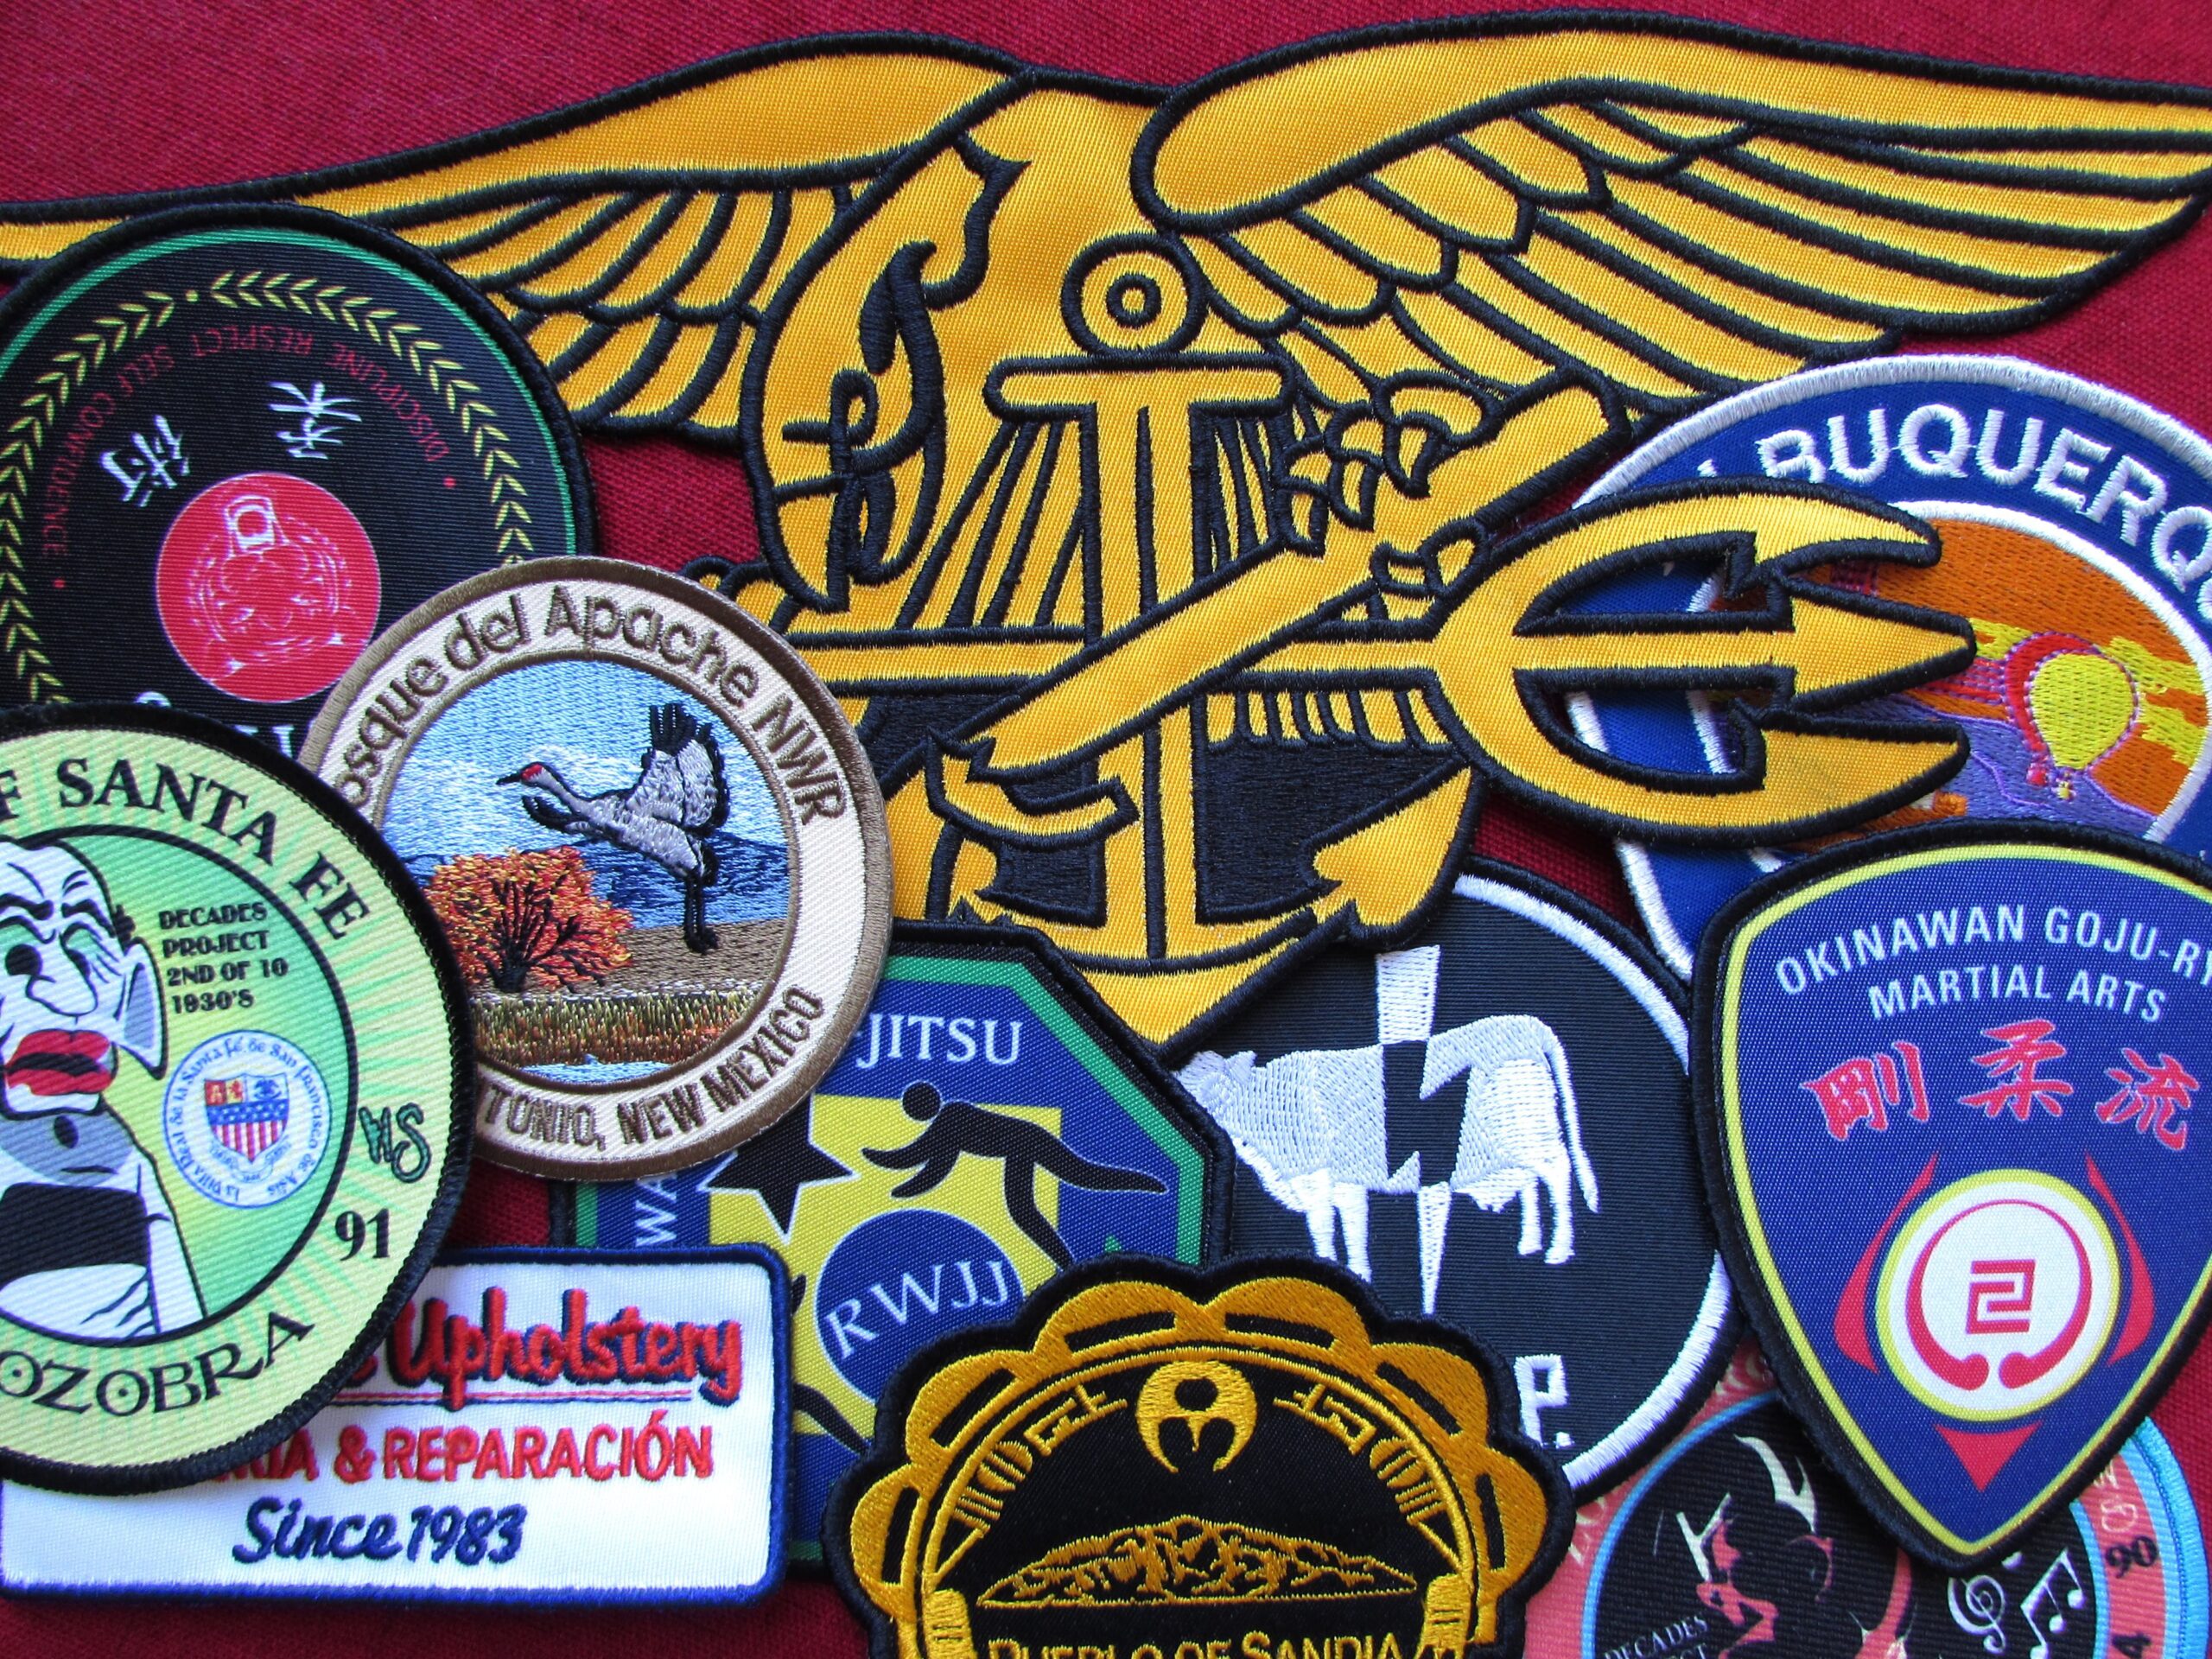
It seems like every embroiderer that threads a needle develops a desire to stitch patches. Whether I'm teaching at a trade show, hosting a livestream, or speaking on a panel, the topic of creating clean-edged emblems with just an embroidery machine is sure to pop up. The moment a seminar attendee spends a moment too long handling one of my custom-shaped patch samples, I know I’ll be teaching a post-session class on the art of patch-making.
Luckily, it’s not terribly hard to get started, even if there’s tons of room to add refinement and complexity as you develop your skills.
Traditional versus Embroidered-Edge Patches
Traditional patches typically have their edge stitching applied after the patch is stitched and cut from a fabric span. This method necessitates the use of a Merrow machine, requiring patch makers to manually guide each patch through the overlocking machine to achieve the classic wrapped edge.
However, most embroiderers I encounter are eager to finish patches without the need for manual handling or additional equipment. The methods below are not meant for mass production so much as for the intrepid souls who seek to create a few patches on the fly, or those creative stitchers determined to edge a shape that cannot be run through an overlock machine.
Making embroidered-edge patches is a sensible choice for those who want a clean edge without the need for cutting and for whom outsourcing isn’t an option due to order size, complexity, or a need for creative options not offered by the large-scale emblem shops.

The Simplicity of Embroidered-Edge Patches
Fortunately, creating embroidered-edge patches and badges is not overly complicated. There are several methods that will result in a clean-edged emblem. Some methods avoid the meticulous task of cutting around borders by utilizing readily available soluble and easily removed materials.
By surrounding your design with a wide, full-density, satin-stitch-like edge (generally more than 3mm), you can even hand cut in-the-hoop, capturing the fibers in your patch material. This means that any embroiderer can create a patch using only their machine and a pair of precise scissors. With the right support materials, you can even make a free-standing, thread-only patch without the need for cutting fabric. The choice comes down to your customers’ needs and budget, the cost of your time versus machine time, and how deeply you want to dive in to additional equipment.
The Patch-Making Process: 7 Steps to Stitching Patches on Removable Stabilizers
Creating patches is generally more forgiving than direct garment embroidery. Patches are traditionally executed on materials that are smooth in texture and dimensionally stable — minimizing distortion during stitching — chief among them the classic polyester twill. If you can follow simple directions, you can make a decent patch.
The production steps for creating patches using the materials covered in this guide are relatively consistent, so we’ll combine those that only vary slightly from each other into a simple set of steps. Let's explore the basics of the patch-making process and then delve into those variations that deviate from the standard steps.
Creating patches using easily removable or soluble stabilizers involves just seven basic steps:
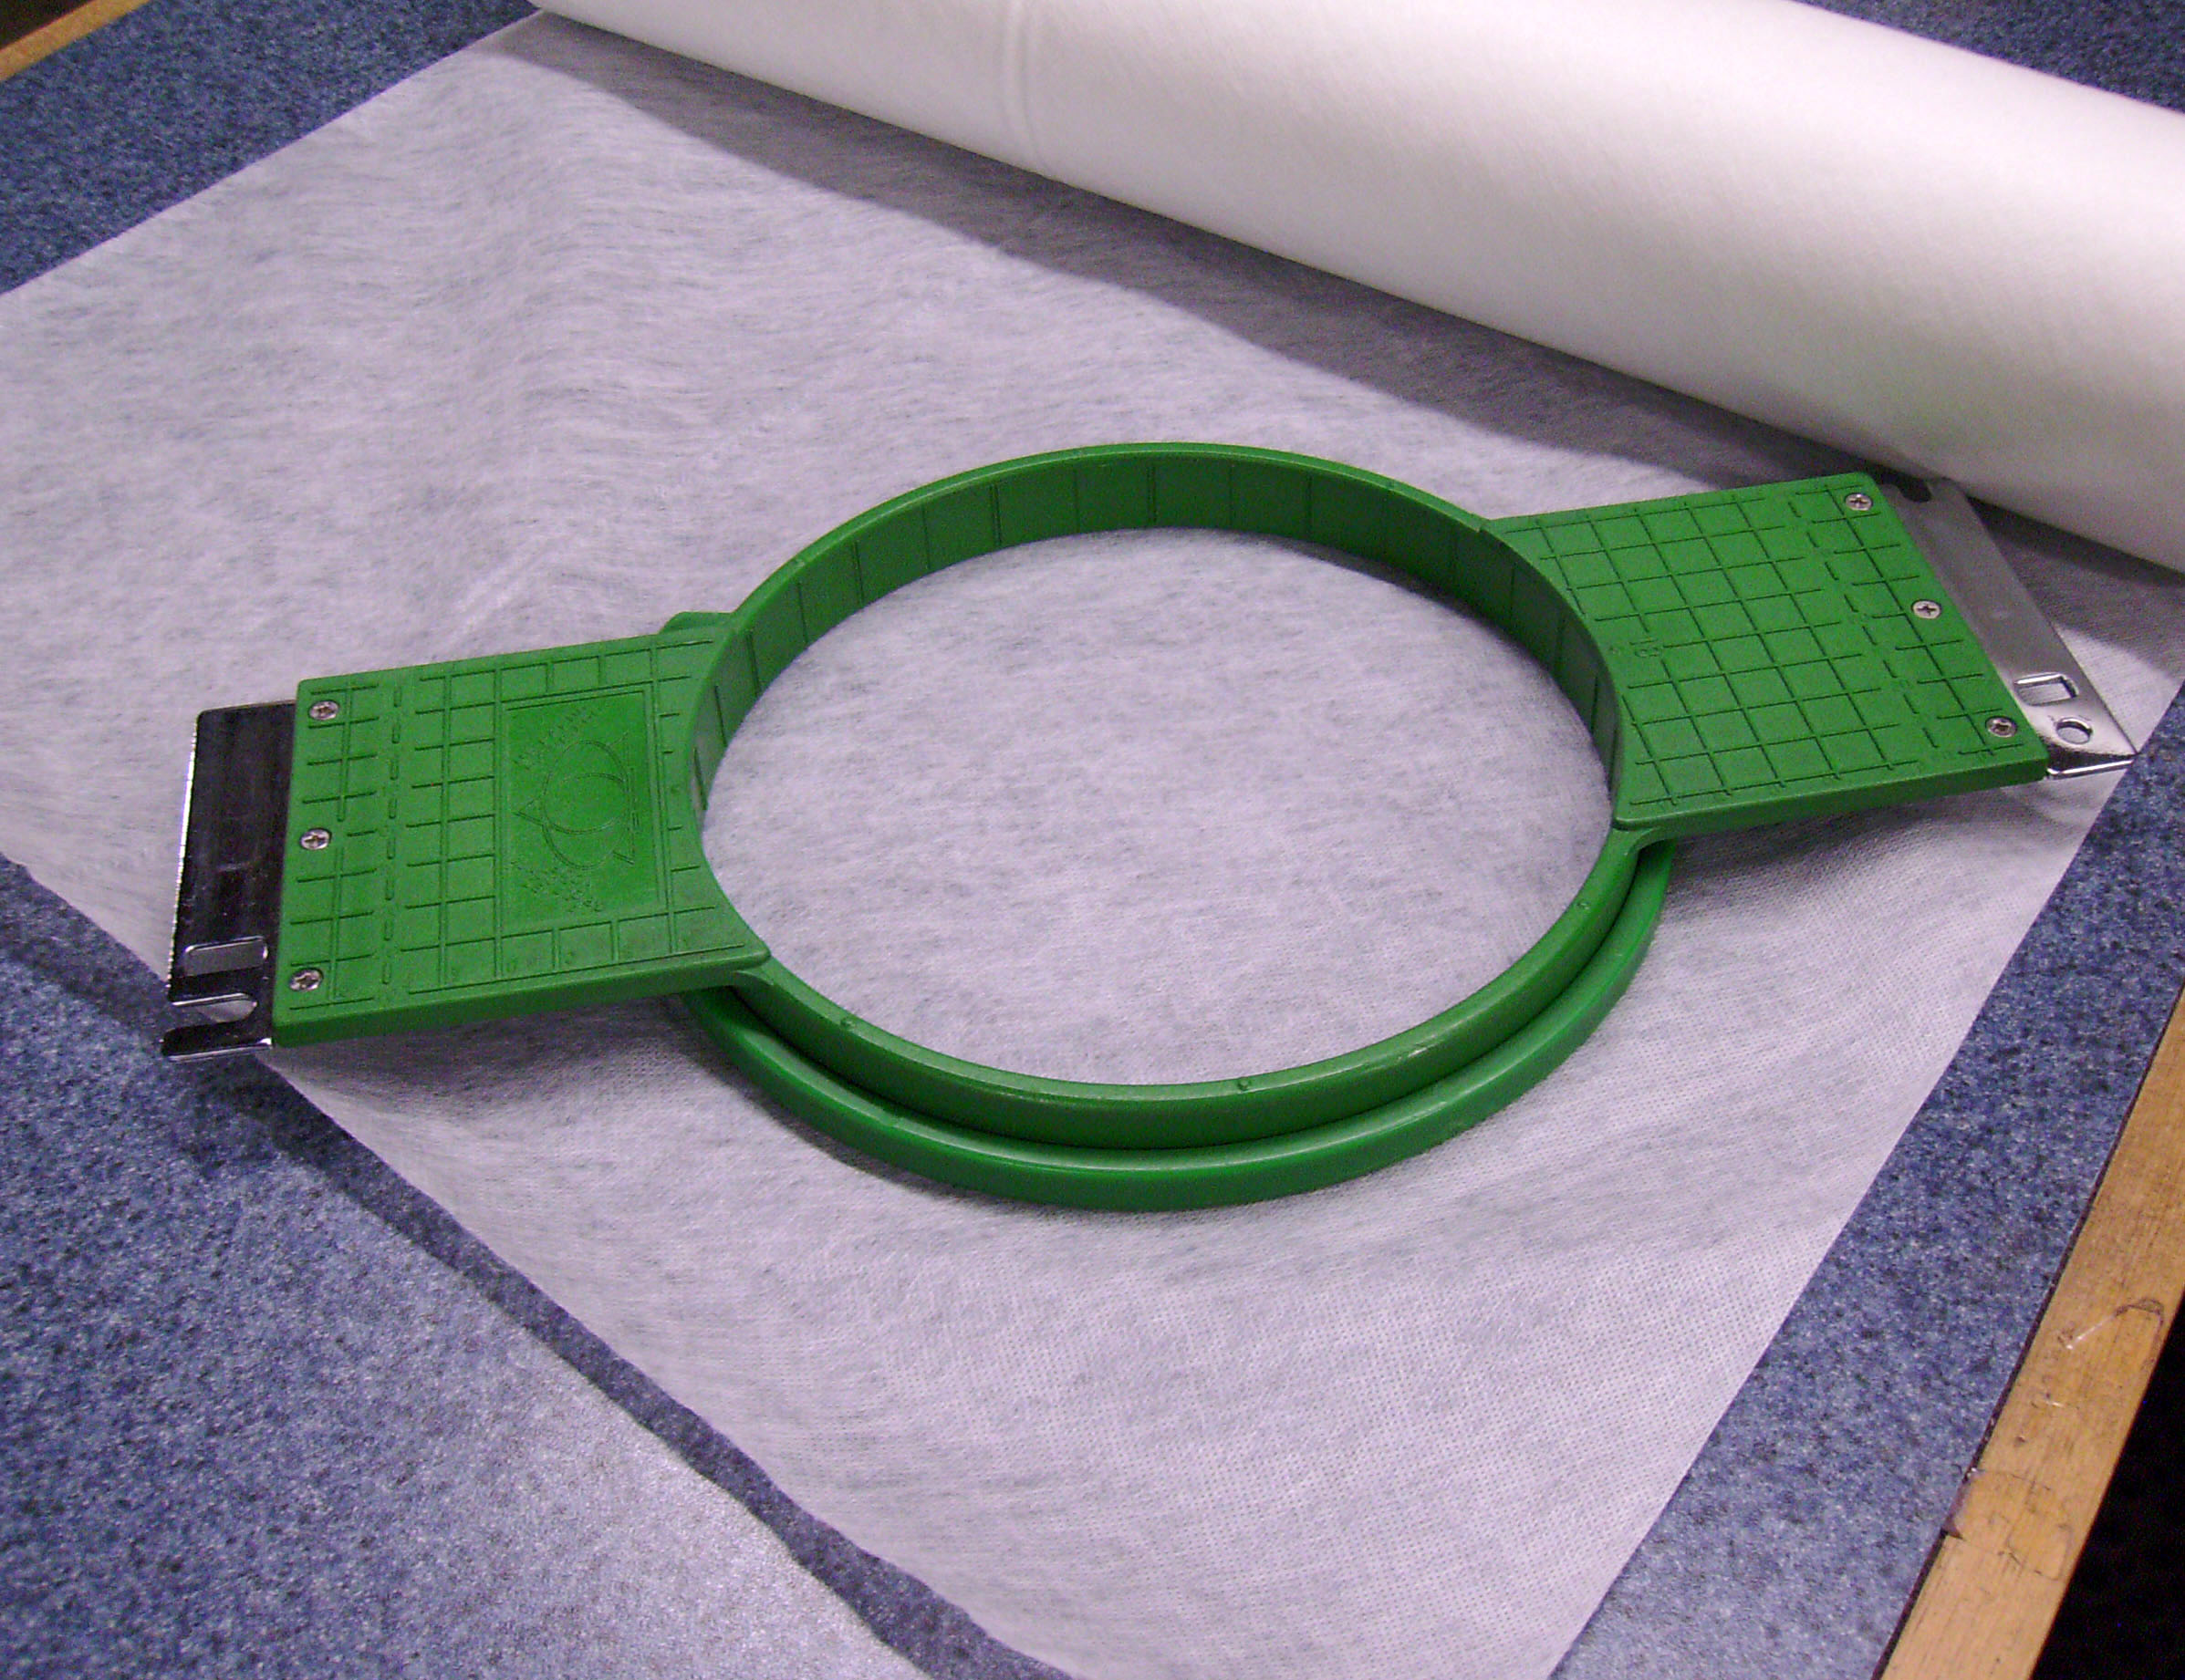
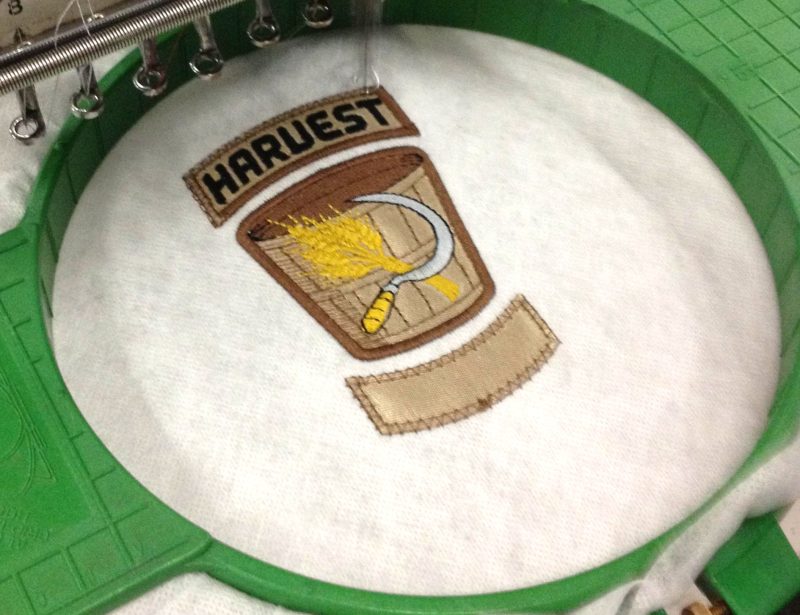
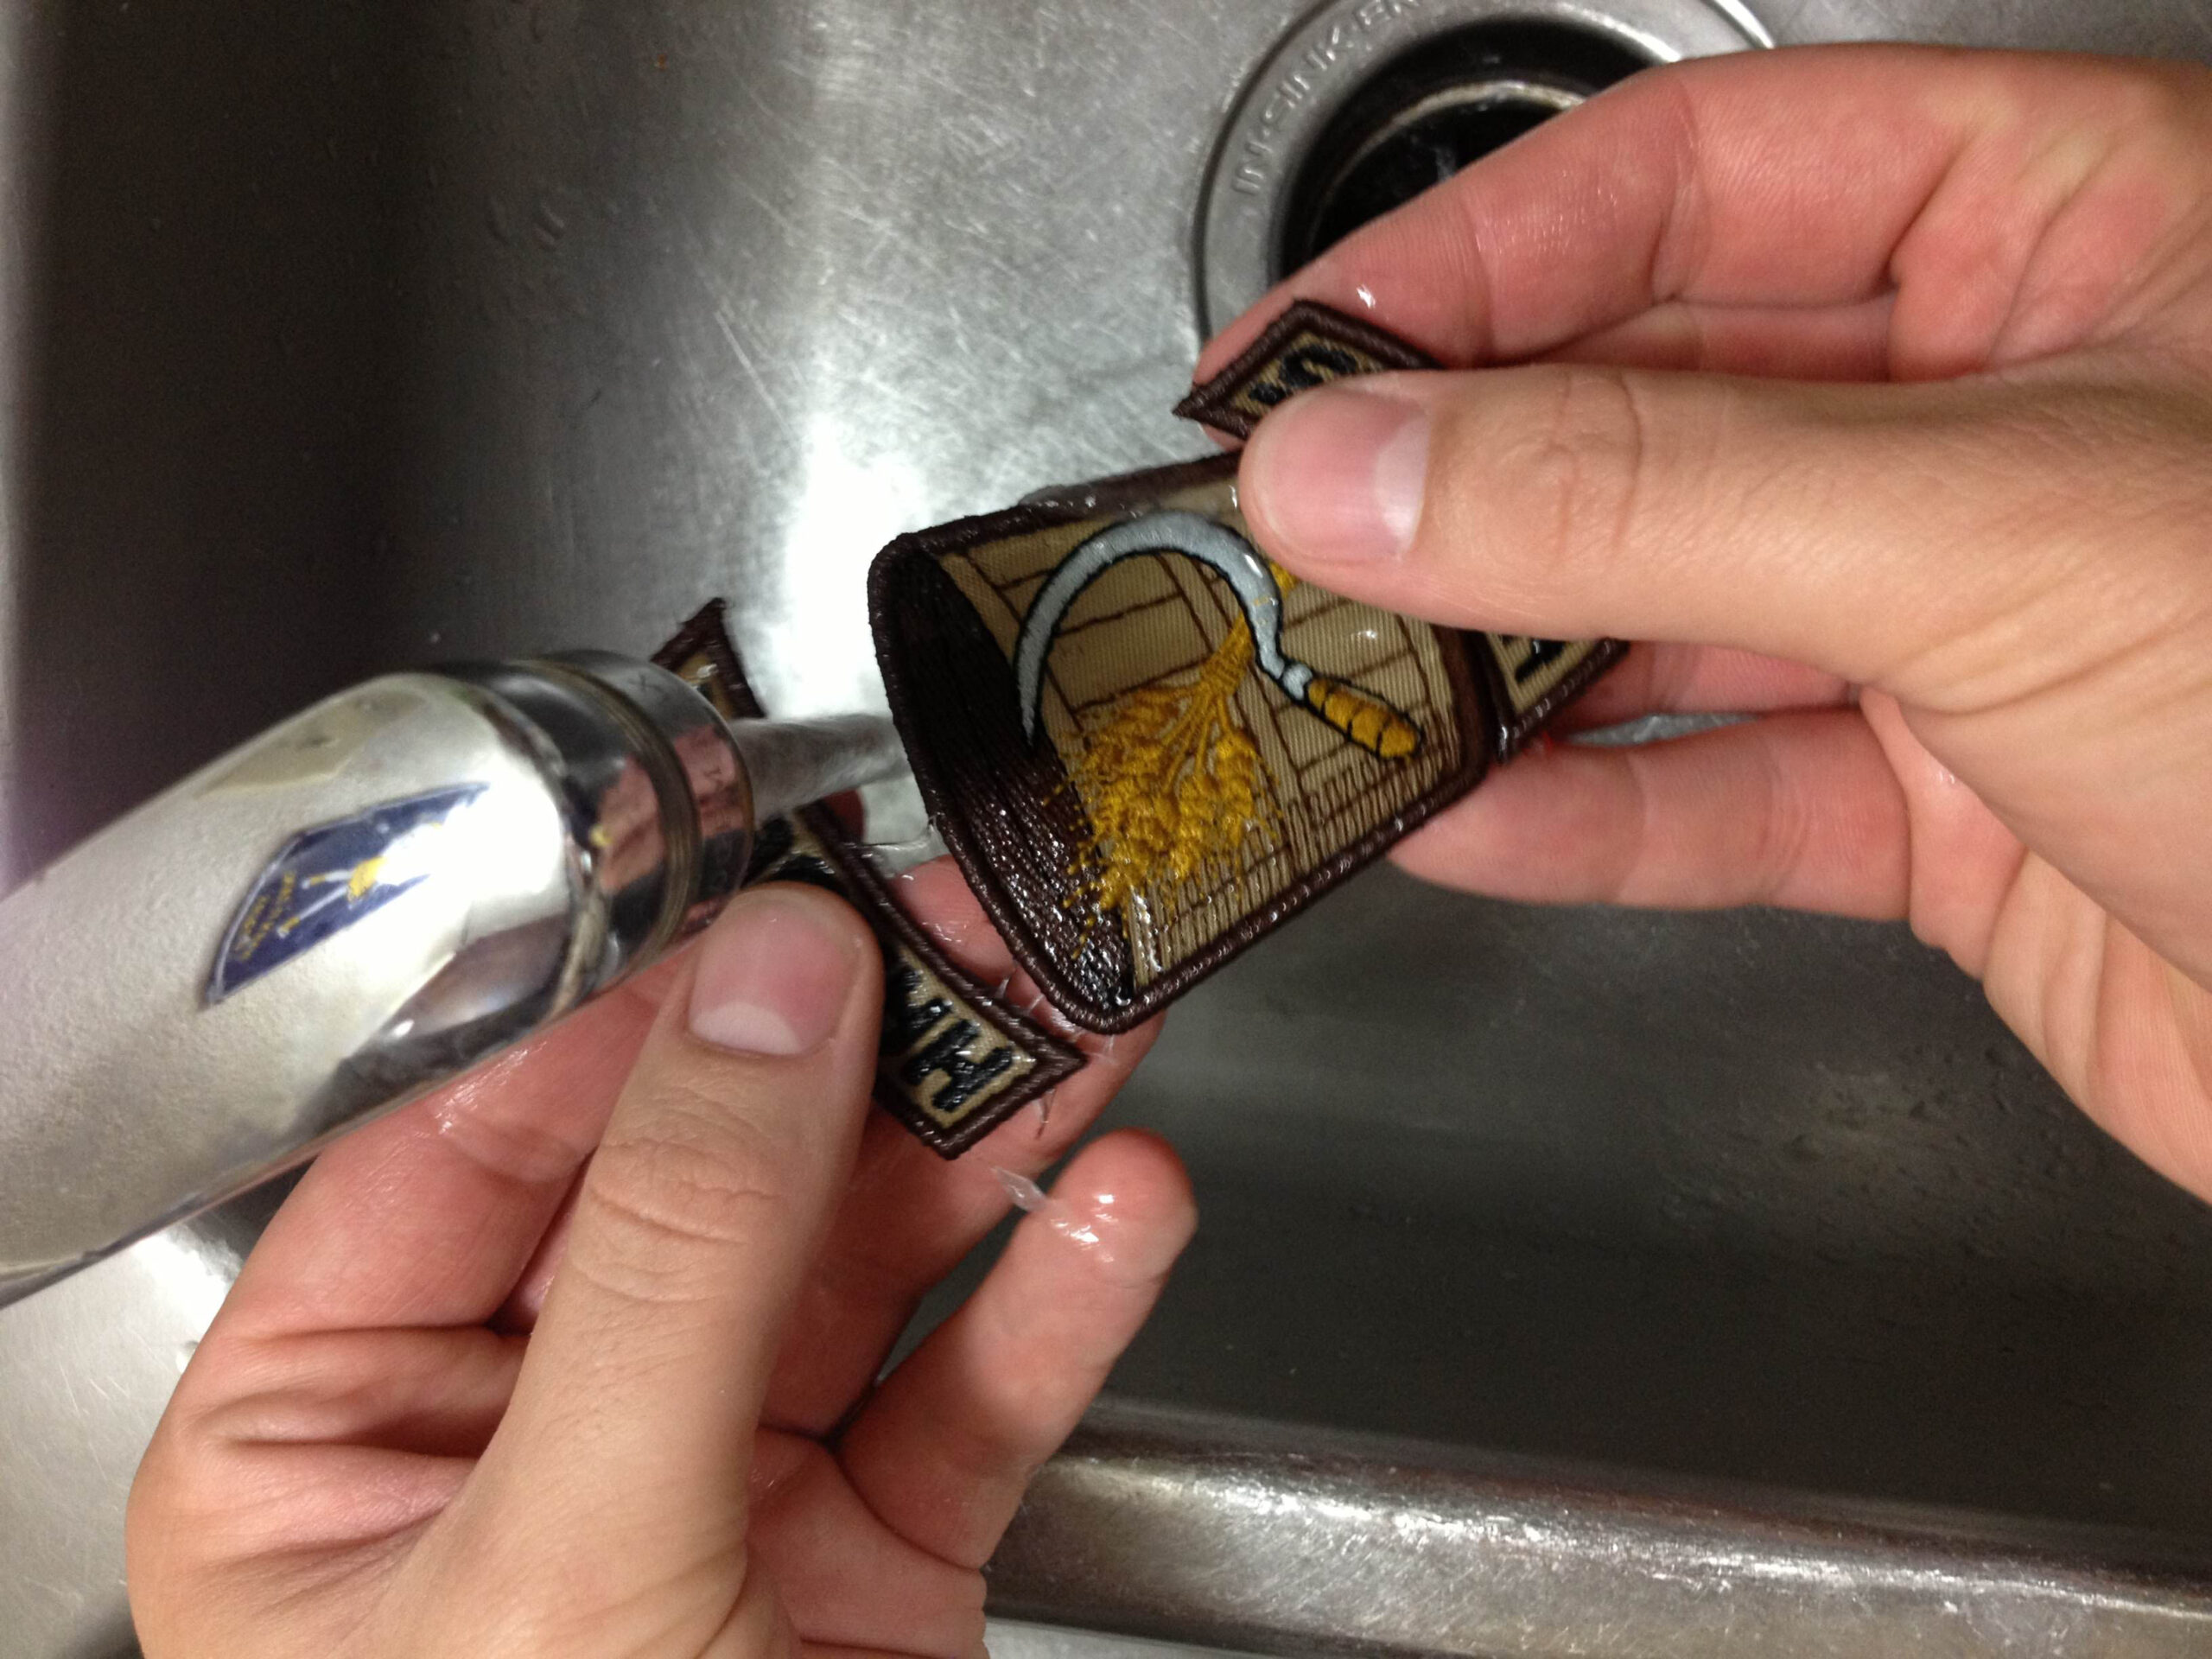
- Hoop the proper stabilizer or support material: To achieve a clean, thread-wrapped edge, you can use a water-soluble stabilizer that dissolves when washed/rinsed, a tear-away plastic film, or a polyolefin film that tears away and uses heat to remove any excess material. For more pliable patches, a fibrous water-soluble stabilizer is often preferred.
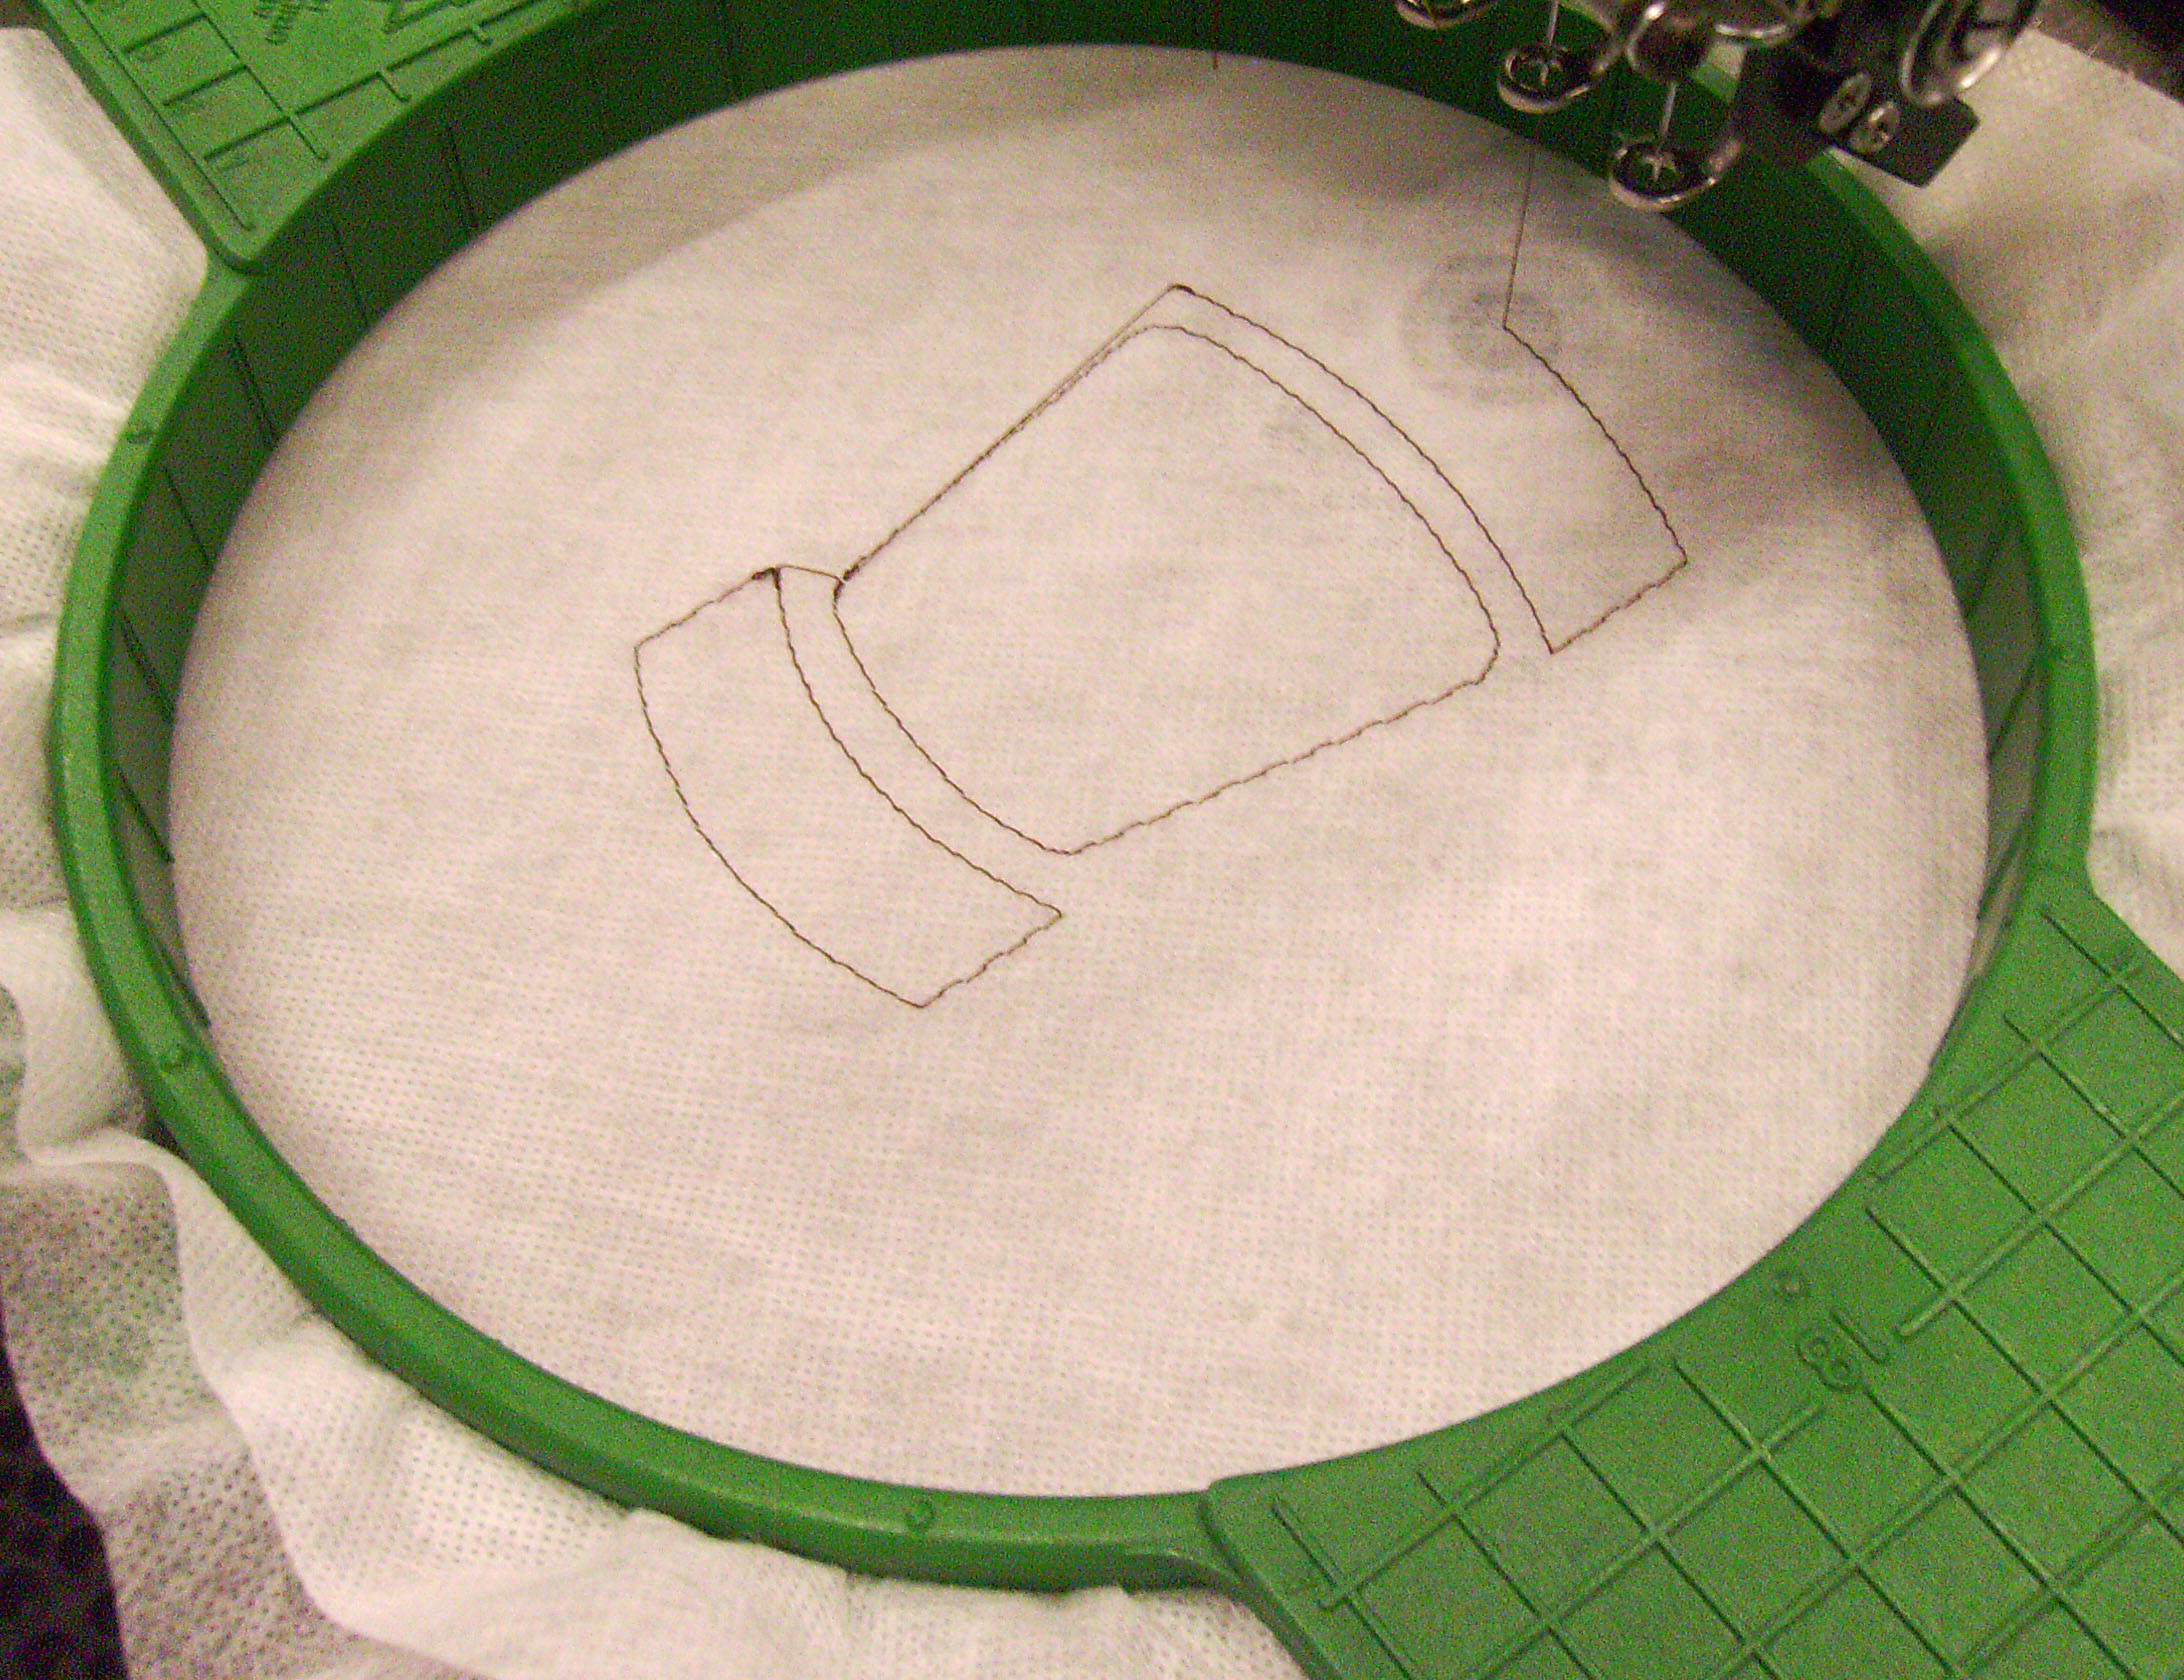
- Stitch a placement line: Create a line that indicates the placement of the patch material, whether it’s pre-cut or will be cut manually or by laser within the hoop. This determines where the patch material will be placed.
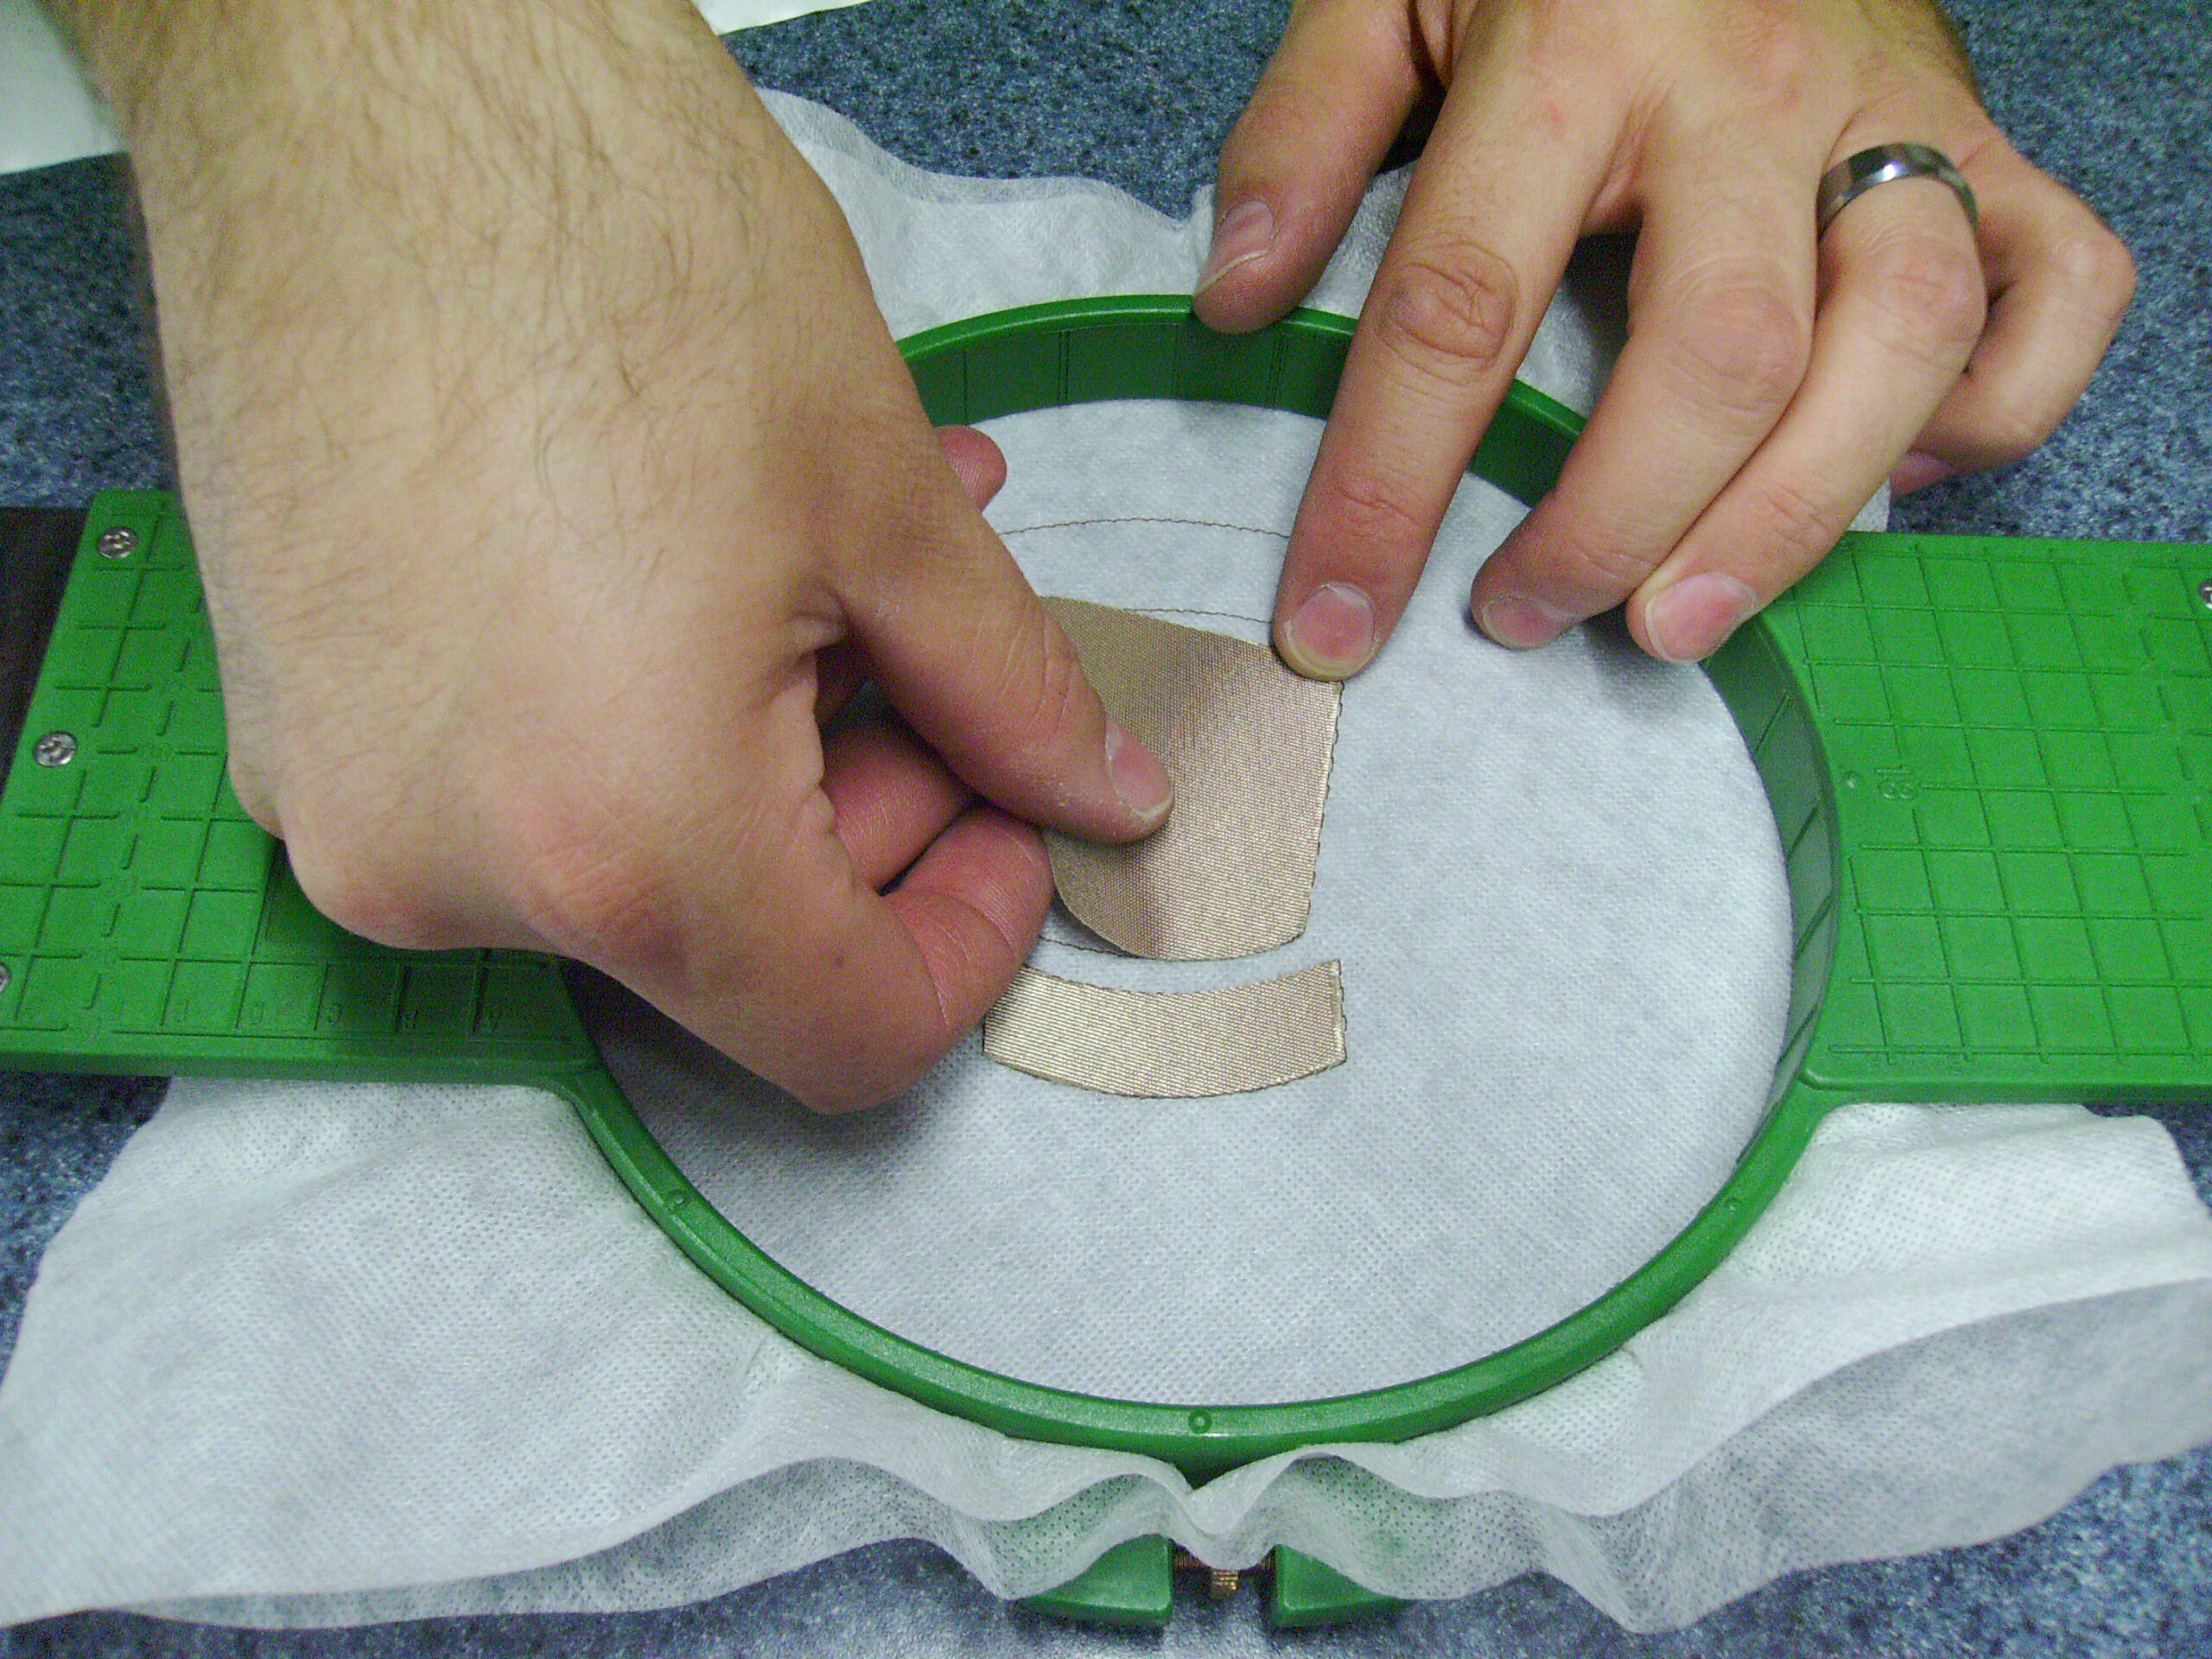
- Place the patch material: Carefully align the patch material with the placement stitching to cover the entire outline, making sure to properly orient any pre-cut shapes or to fully cover the area if cutting in-the-hoop. If the material shifts easily, use a light spray of embroidery-specific adhesive to secure it.
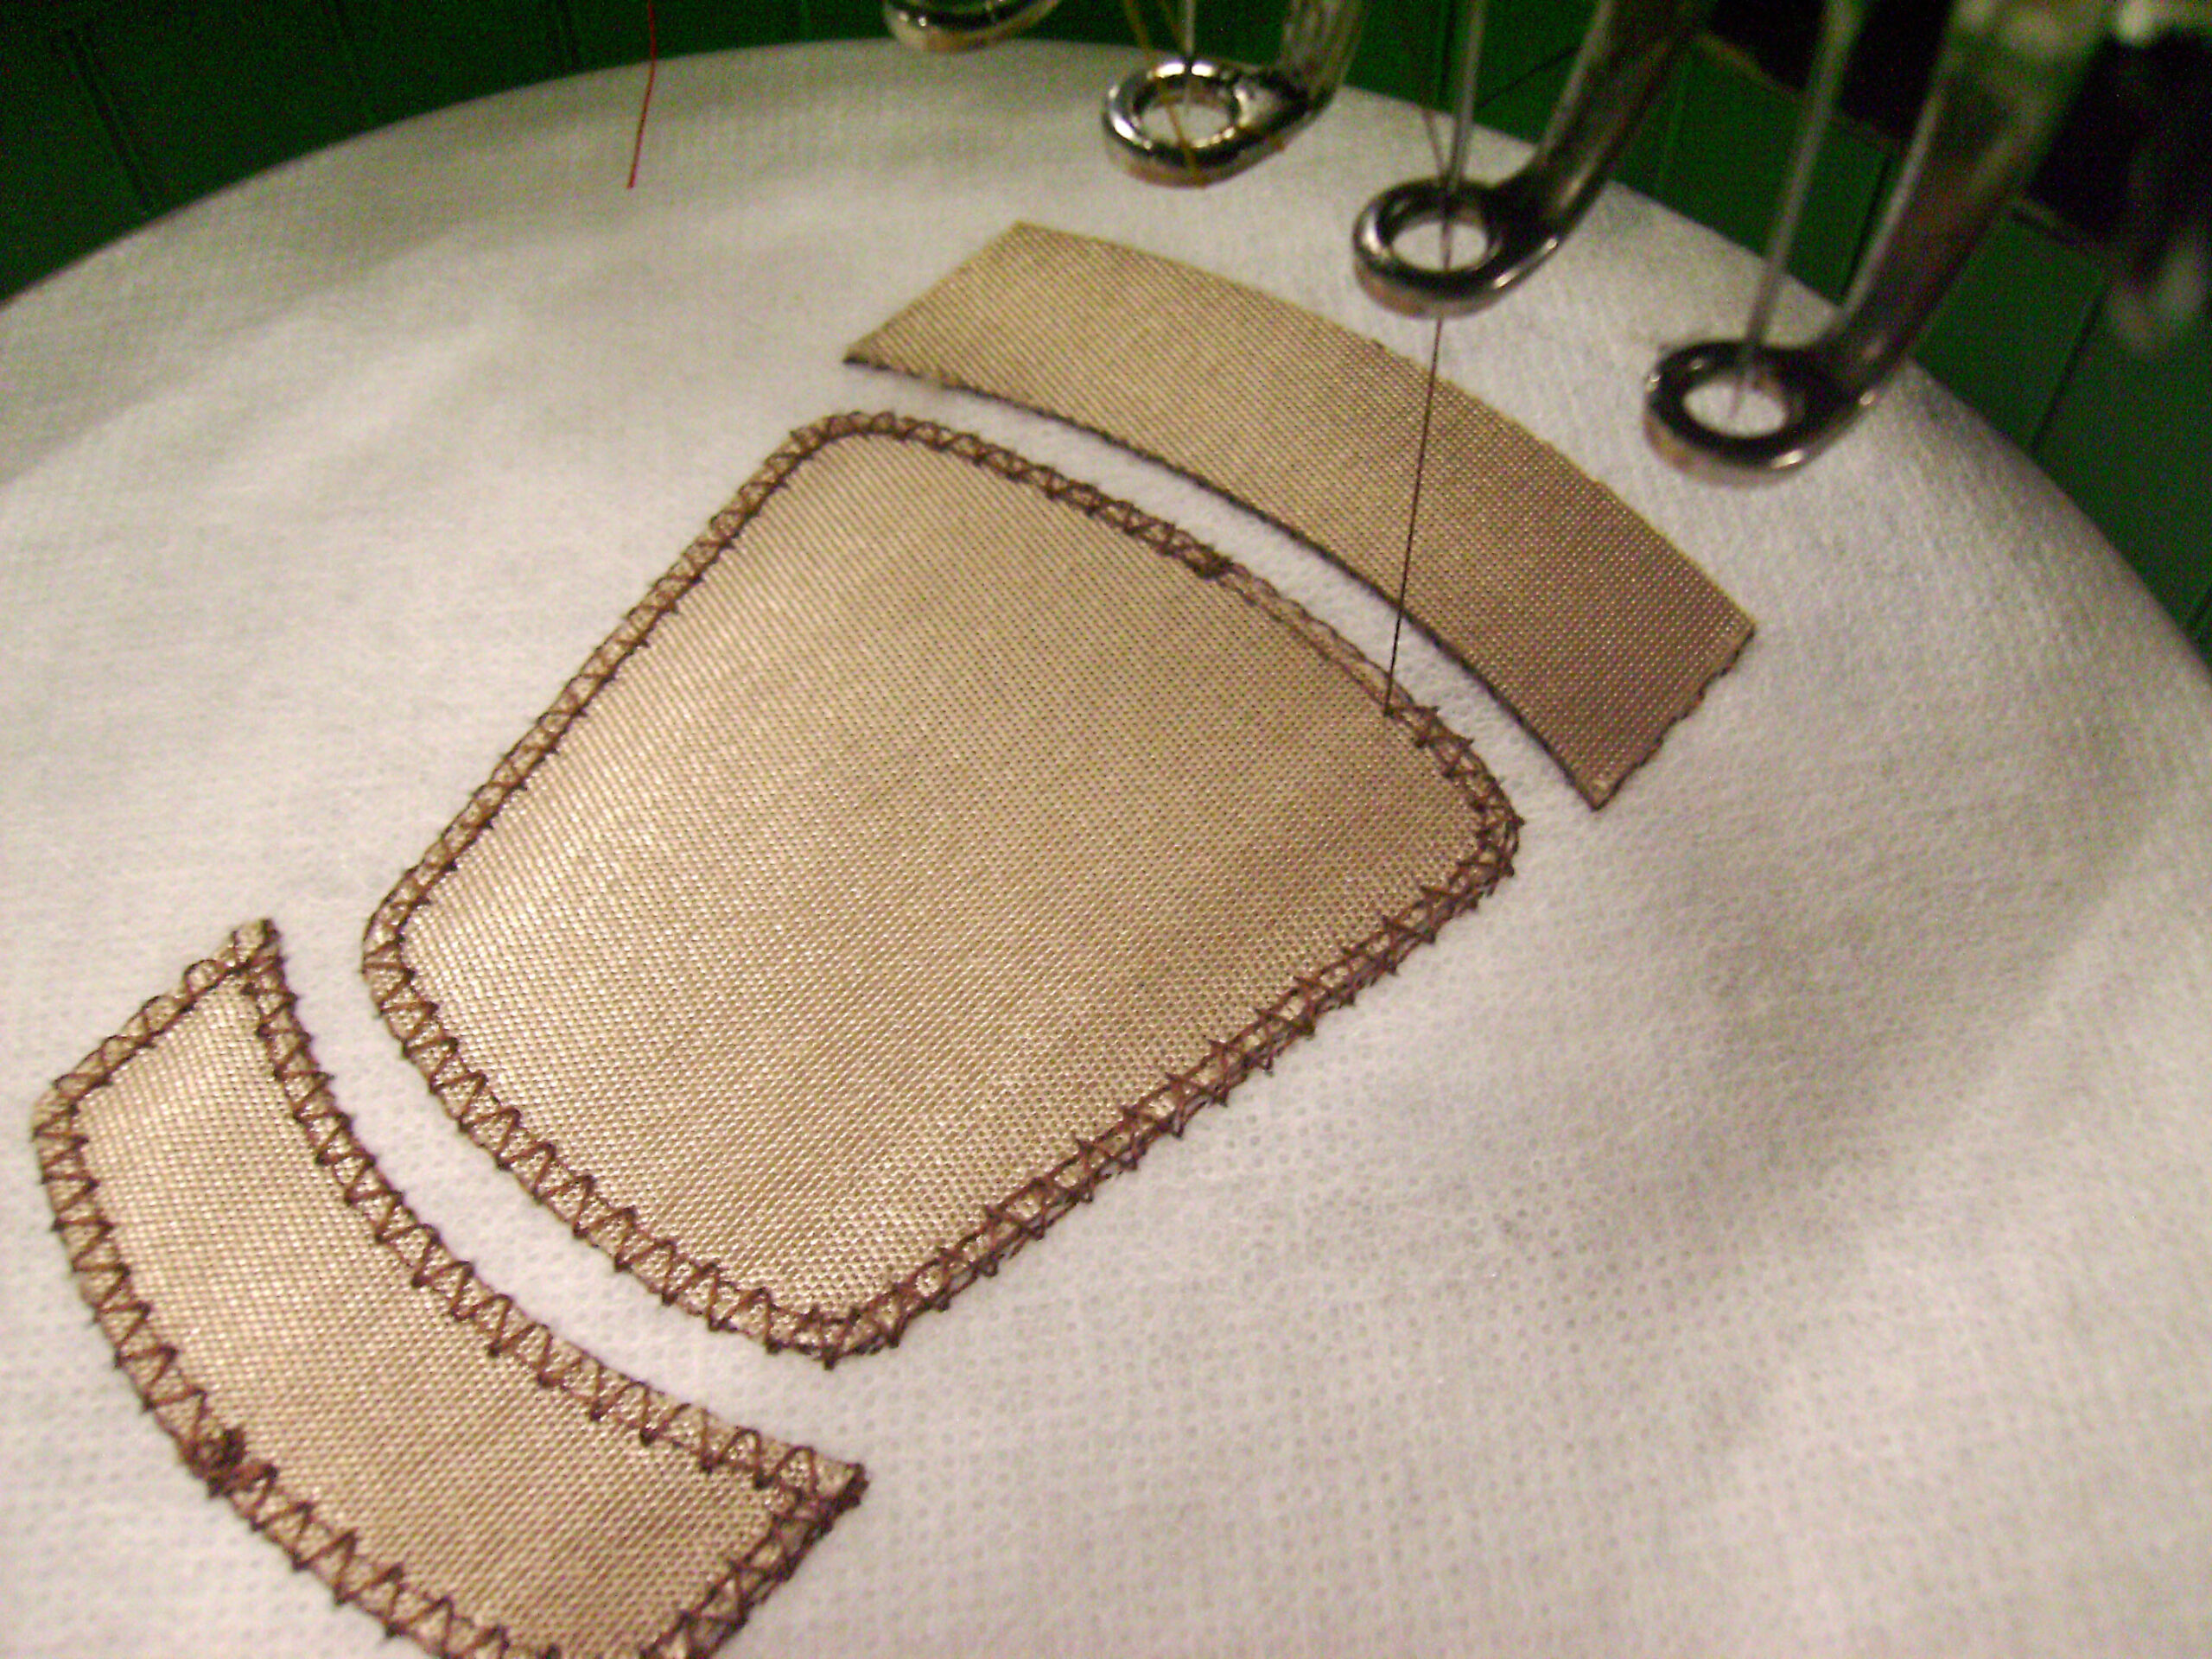
- Stitch a tacking run: It’s common to use a zig-zag stitch to tack down the edge of pre-cut materials or one to three passes of a straight stitch for hand-cutting. The zig-zag tack-down should be thinned to fit under the final border, with the edge of any precut fabric just inside the zig-zag’s outer edge. The tacking run holds down the base patch material in both cases, but the multiple passes of straight stitching used for hand-cut patches create a clean, raised line against which you can ride your scissors. Be cautious when hand-cutting on weaker plastic films to avoid pulling, tearing, or cutting the film.
- Run the central design material: Stitch the main decorative area of the patch, ensuring it runs before the border. The full-density border column has the highest chance of compromising the stabilizer and causing the patch to shift or “pop out.” This step is particularly important when using film-like water-soluble stabilizers and plastic films. Proper sequencing is also crucial if your design elements intentionally run under the final border.
- Stitch the final border: Many digitizers use a satin stitch for the final border, although a faux merrowed or textured edge constructed with motifs or specialty software has gained popularity. Combining edge-walk underlay and double zig-zag underlay can provide satin borders with more body when manually constructing the edge.
- Release the span and remove excess stabilizer: Take the span out of the hoop and remove the excess stabilizer by washing/rinsing it for water-soluble stabilizers, tearing it away for plastic films, or tearing and heating it away for polyolefin films.
Thread-Only Patches
Thread-only patch making is a popular choice for its simplicity and the opportunity to create patches in any color available in your thread collection. This method involves a vastly higher stitch count but eliminates the need to pre- or post-cut a fabric patch.
To create a thread-only patch, start with a span of non-soluble or polyolefin film as the base material. Some embroiderers use commercial systems with prepared sheets of plastic film, while others utilize a traditional hoop holding a span of 20-gauge clear vinyl or polyolefin film to achieve the same results.
Free-Standing Foundations
To build the body of a thread-only patch, digitizers create a three-layer underlay mesh with opposing angles underneath the main filled area of the patch design. This mesh, combined with the covering stitches, allows the thread to hold together, stay stable, and provide more body as a finished piece.
Home and craft embroiderers may recognize the main background underlay, which resembles the mesh-like support fills used in “free-standing lace” designs. While thread-only patches can be created using water-soluble stabilizers, the remaining material within patches using plastic or polyolefin substrates provides stability and stiffness that can be desirable in the thread-only patch.
To stitch a thread-only patch, hoop the film, run the background underlay and fill, move to the central design, and finish with the border as usual. Once complete, tear the patch out of the plastic or polyolefin film, and heat the edges of the latter to remove any excess material.
Hot-Knife Cutting
Using a “hot-knife” is a common method employed by patch makers to cut finished patches out of an unbroken span of material. Essentially a wood-burning pen, the hot-knife requires polyester or similar materials that melt and fuse cleanly. With hot-knife cutting, you can eliminate the need to cut the material before or after stitching, trading the secure, stable stitching experience for the need to hand-cut and finish the final edge.
To create a hot-knife patch, simply stitch the design, including the border, through the patch material. This doesn’t require a particular digitizing method, though some patch makers use a specific reinforced satin-stitch border meant to create a solid, dense edge for the hot-knife to follow.
After sewing, you can fuse the stitched span, consisting of multiple patches, to an adhesive or sealing layer. Place the finished, fused span on a smooth, heat-resistant surface — such as a glass pane on a desk — and trace each patch carefully and smoothly against the border using the hot knife. This process melts through the patch material and adhesive, fusing the edges and separating each patch from the span.
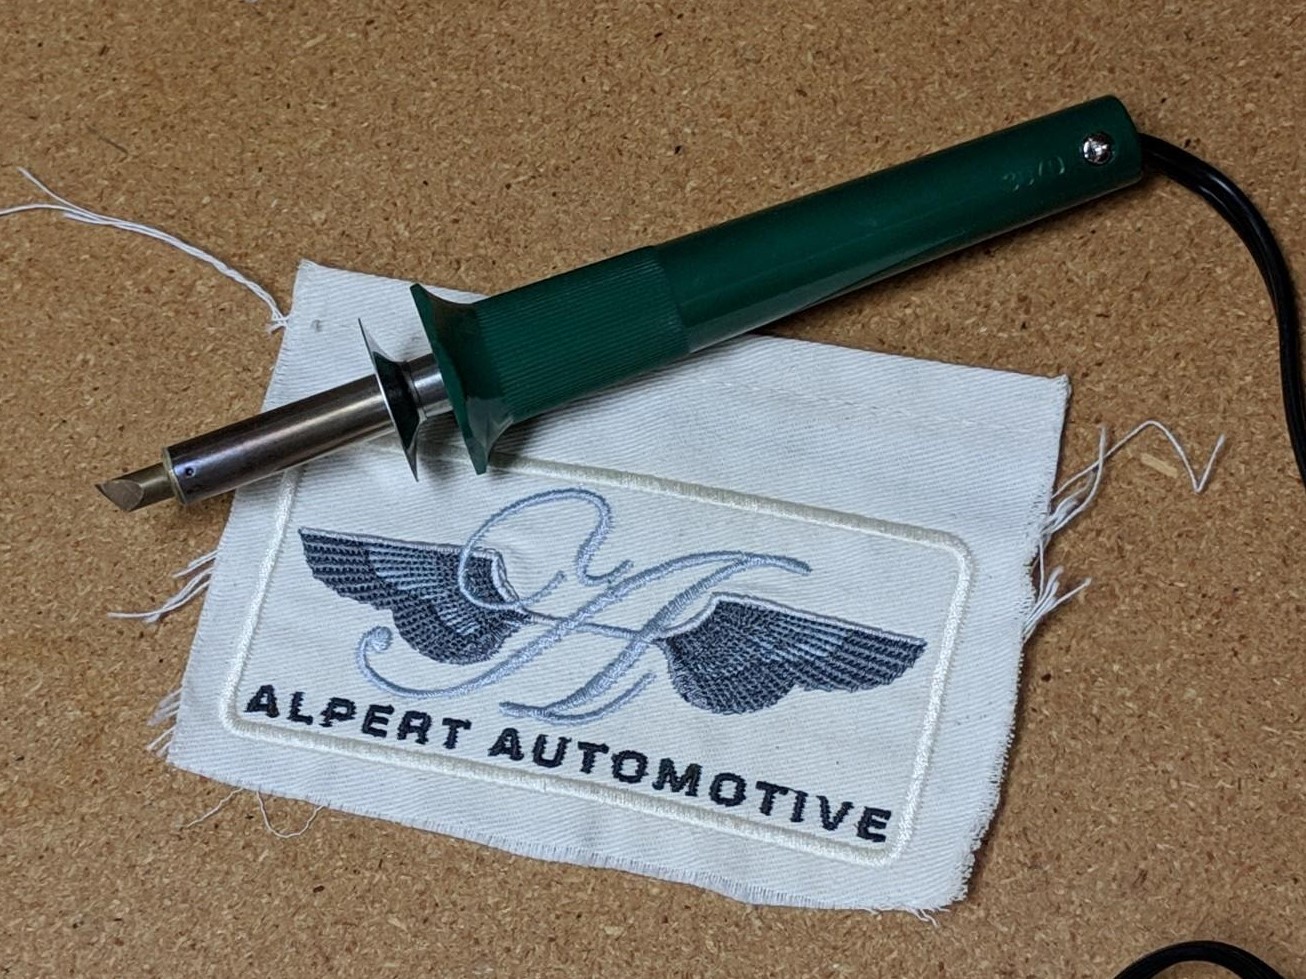
Although some residual material may remain at the edges, this method not only saves you from the dreaded “pop out,” but also allows you to avoid any hand-cutting or hot peeling of adhesive layers the way you may have to do when preparing a pre-separated patch for heat press. Keep in mind that the increased manual work may make this method less attractive compared to using soluble or film methods, depending on the desired attachment method and materials the customer requires.
Conclusion
Embroidered patches offer a creative and versatile way to decorate, as well as standing on their own as a true promotional product. No matter which method you prefer, embroidered-edge patches allow you to do anything from create a one-off cover-up for an incorrectly stitched or reused garment, to producing an in-house spec sample for a future large-scale outsourced order, to taking on short- to medium-run orders directly.
By following the steps outlined in this guide, anyone with enough interest and curiosity can create clean-edged emblems on their existing embroidery equipment. Experiment with different materials and methods to find the approach that works best for you and enjoy the art of patch-making. With their power to associate us to what we care about, to show affiliations, beliefs, and commemorate important experiences and events, there’s nothing like a patch to help your customer wear their heart on their sleeve.

