

How to Screen Print a Vintage Concert T-shirt
The ‘90s, nostalgia, old-school vibe are back and more popular than ever. While many people are on the hunt for a true vintage concert T-shirt to celebrate their favorite band, there are plenty of new customers out there who want the same look for a concert they are seeing this weekend.
With the right tools and techniques, you can create a vintage feel for your customers. Here’s how.
Materials Needed
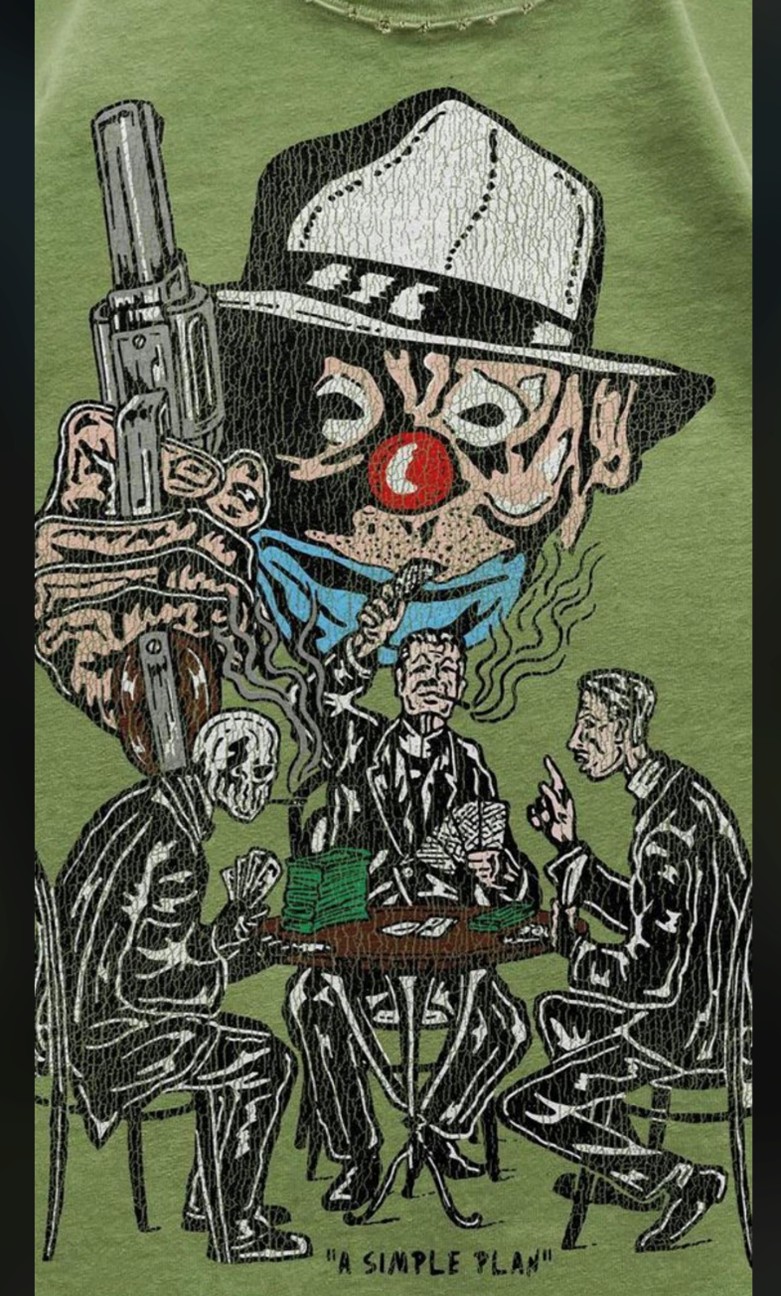
An example of the crackle additive. | Credit: Tim Gibson
Start with a blank that conveys the weight and feel of what you are trying to achieve based on the project. For an ‘80s- or ‘90s-theme reproduction, I recommend using a 20-single or midweight fabric with a cut that represents this era. The Vintage Rocker T from US Standard Apparel was used for this article.
This design was printed on a ROQ YOU auto press at High Voltage Studios in Austin, Texas.
Another way to achieve a more vintage washed look is by using only one white screen and letting the shirt color come through. You can also use based-down plastisol or water-based inks to achieve the desired effect. Crackle additives can also be used to add dimension and an aged look to your artwork.
Step-by-Step Tutorial
Step One:
It all starts with choosing the right artwork and separations, Distressing is a great way to achieve a vintage look. Check out the example below. This can be achieved by utilizing brush tools in Photoshop or Illustrator. Done tastefully, this yields great results. Be careful not to overdo it and lose the integrity of the original design concept.
Step Two:
I recommend using higher mesh counts when possible — 230 is a great starting point. When coating screens, use the sharp edge of the scoop coater, one coat ink side, and one coat squeegee side. The goal is to achieve minimal ink coverage for the best vintage look.
We like to wash the garment post printing as well to accentuate the worn and faded look.
Step Three:
This “Better At Heartbreak” design printed for Nashville Recording artist Matt Rodgers was printed in three colors:
- Under white – 200 mesh (flash)
- Red – 230 mesh
- Highlight white – 230 mesh
Step Four:
Always make sure your ink temp gets to 320 F to fully cure. Don’t be afraid to experiment with different techniques, distressing filters, and brushes in the art design process.
Have fun with it! Remember: It’s not supposed to look perfect and “new.”

With the right tools and techniques, you can create a vintage feel for your customers. | Credit: Tim Gibson


