

Dark Garment Pretreating for DTG – Simplified!
Let’s be honest: Pretreating is the less glamourous side of direct-to-garment (DTG) printing; however, you shouldn’t let that opinion deter you from jumping into DTG altogether. Whether you are new to the world of DTG, a veteran, or still in that consideration phase, I’m sure you will find the following tips and tricks useful in your journey.
First Off, What is Pretreat?
Pretreating station with SK Pretreat. | Credit: Deana Iribe
Pretreatment is a liquid that is applied directly onto a T-shirt to help the white ink set on the garment instead of sinking in. Without pretreatment, the white ink will sink into the fabric, resulting in a dull, unappealing, and unsellable print result. In order to achieve vibrant, opaque whites using a DTG printer, pretreat must be used.
Why is it Important?
The primary objective of pretreatment is to create an optimal surface for white ink adherence. This ensures that the ink bonds effectively onto textile fibers and gives it a smooth surface for the color pass. Pretreatment also helps prevent ink bleeding, color inconsistencies, and poor wash fastness. All of those issues can impact the final print’s appearance and durability.
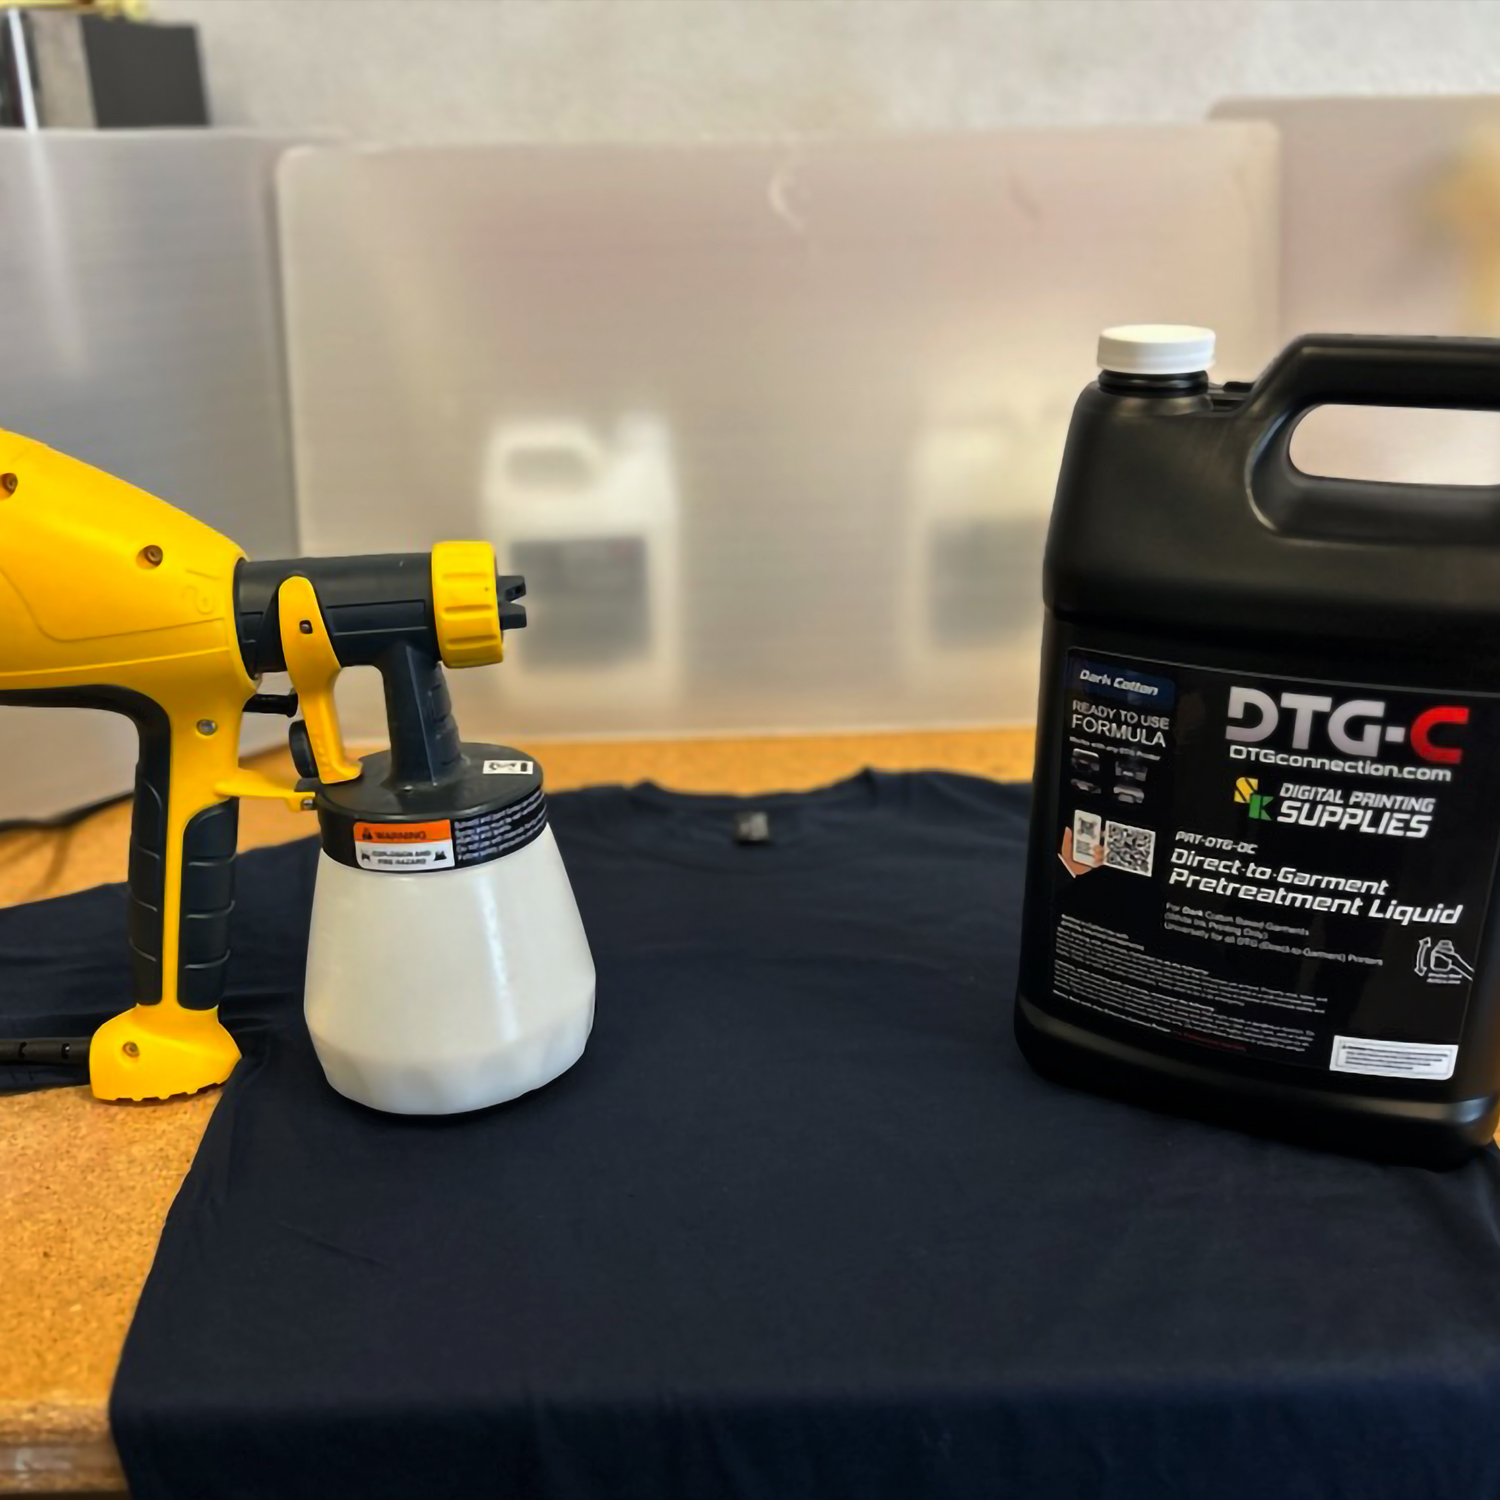
How is Pretreat Applied?

Pretreating with a paint sprayer for DTG. | Credit: Deana Iribe
Most customers start off using a hand paint sprayer to apply the pretreat fluid onto a shirt. After you spray, you can use a squeegee, synthetic paint brush, or a foam roller to embed the liquid into the fibers.
When using a hand sprayer, you need to learn how to apply the correct amount of pretreat (depending on the quality and weight of your T-shirt) and ensure that it is done evenly and consistently for best print results.
Once apparel decorators gain more business (or dislike using the hand sprayer), many upgrade to a pretreat machine to help automate and streamline the process. Other reasons why customers upgrade to a pretreat machine is to be able to pretreat indoors in a smaller area with the printer or to keep their shop clean.
The amount of pretreat applied onto a garment depends on the quality, weight, and fabric content of the shirt.
Not all cotton shirts are the same! When you look at a T-shirt’s description online, take a look at the fabric details. There is a difference between 100% cotton (low quality) versus 100% ring-spun cotton (mid-quality) versus 100% Airlumed and/or combed ring-spun cotton (high quality). Typically, the lower quality shirts require more pretreatment, and the higher quality require less.
You also need to consider the weight of the fabric. Thicker shirts need a heavier application versus a thinner knit.
Lastly, keep the fabric content in mind. DTG uses aqueous (water-based) inks, which perform best on natural fibers that they can absorb into. Once you start straying away from 100% cotton into the poly blends, the white ink will begin to look less vibrant in your DTG print due to the polyester. Low poly blends wouldn’t show too much of a difference, but when working with these blends, you need to apply more pretreat compared to a 100% cotton fiber shirt. Typically, I wouldn’t use white ink and pretreat on a 50% or higher poly blend shirt, but you can use direct-to-film (DTF) instead.
How Much Pretreat Should I Apply with All These Considerations?
As a good starting point, a 100% combed ring-spun cotton shirt with a weight of 30/singles can be between 18-22 grams of pretreat per square foot. The lower quality shirts can get up to 25-27 grams.
If you are spraying by hand, here is the best way to figure out the number of grams you are using:
- Cut a 12×12” template out of a cardboard panel
- Weigh your T-shirt by grams and tare the weight to 0
- Place the template over the shirt and spray within that space
- Fold your shirt to fit onto the scale and weigh it
- You will see the amount of pretreat you used in grams
Now, I understand it isn’t feasible to do this for every single shirt you spray and print. But when you do this test, take a look at the shirt visually (take note on how saturated it looks), or count the number of seconds it took to apply the pretreat onto your garment. If you keep those two suggestions in mind as you get more experienced with spraying the pretreat, you get a good feel on what you need to do to apply more or less pretreat onto your garment.
I suggest purchasing a variety of shirt brands in different weights and qualities to do the above testing. Label the shirts with the amount of pretreat with a marker and then print a pure white test graphic onto the shirt to see whether or not you got the appropriate amount of pretreat onto that particular garment. Your goal is to find that “sweet spot” — the least amount of pretreat needed to achieve a high-quality print. Remember, the brighter your whites, the more vibrant your color will look on top!
That Seems Like a Lot of Work! What Else Can I Do?
Investing in a pretreat machine can take a lot of the labor and guesswork off the table. With a pretreat machine, you can set the speed of the spray, which determines how much pretreatment is laid onto the shirt. Some pretreat machines even have something called a “step test” where it will spray multiple levels of pretreat amounts onto one side of the shirt so when you print a large white box, you can easily see which setting performed best with the garment you are using.

A pretreat step test on the Viper Maxx. | Credit: Deana Iribe
What If I Hate Pretreating Altogether?
Don’t worry! You still have options. There are a growing number of pretreated shirts on the market today. All you need to do is pull the shirt off the shelf, prepress, and print! I wouldn’t consider this “cheating.” Some shops don’t have the space, time, or physical capacity to pretreat, and that’s okay!
I highly suggest starting off with pretreated shirts if you are a beginner and still trying to get more comfortable with the printer. Also, a pretreated shirt can be a great “control” print. You can check out how well you hand treated your shirt by comparing it to how good the white looks on the one you purchased already pretreated.
It’s Finally Time to Quit Reading and Start Testing!
Practice makes perfect, and learning to pretreat is no exception. Yes, it does seem intimidating and has a bit of a learning curve. It’s completely normal to waste shirts in the process, but that is the nature of our industry. If you continue to apply some of the above rules of thumb and keep trying, it’ll soon become second nature. As with everything else in life, we learn through trial and error and that’s really the only way we can get things done right and start making some money!


